18 DIY Furniture Makeovers for Beginners: Transform Old to Gold
Okay, let’s be real. Your place needs a little something, but your wallet is giving you major side-eye. And that old dresser in the garage? It’s not “shabby chic,” it’s just shabby. I get it.
The good news is, with a few basics and some fun ideas, you can totally transform that “meh” furniture into “wow” without needing to be a master carpenter.
I’ve been there, made the messy mistakes, and lived to tell the tale. So, grab your paint-stained sweatpants, and let’s turn some old finds into absolute gold.
1. The Classic Paint Refresh
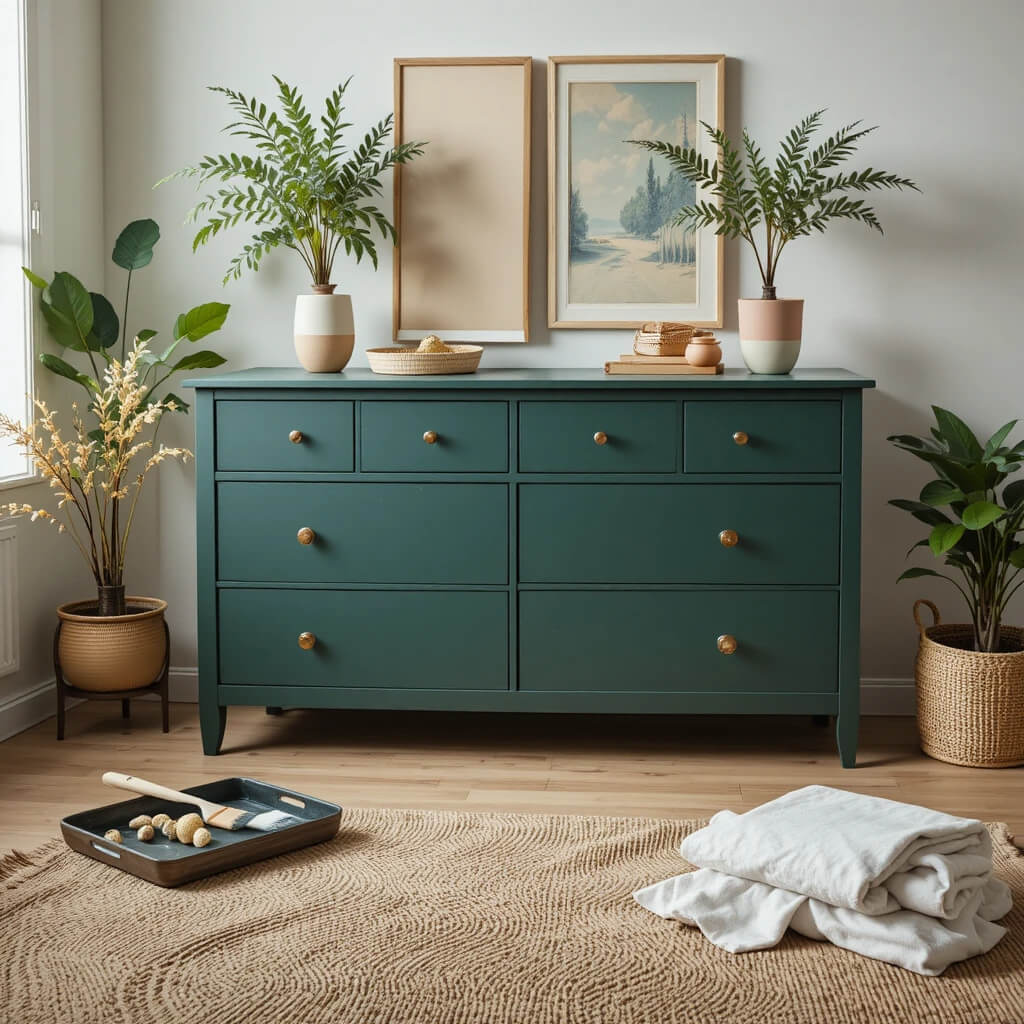
This is your gateway drug into DIY. Sand it down, wipe off the dust, and slap on a coat of your favorite color paint. Seriously, it’s that simple to give a tired piece a whole new personality. A good brush and some chalk or mineral paint make it almost foolproof.
Personal Fave: I’m obsessed with a deep, moody green right now. It instantly makes a basic bookshelf look expensive and intentional. Try it on a laminate desk—just use a good bonding primer first!
2. Distressed Denim Vibes
Paint your piece a solid base color, let it dry, and then gently sand the edges and raised details. This technique makes new paint look charmingly worn and loved for years. It’s perfect for hiding your first-time sanding imperfections, IMO.
Pro Tip: Use a lighter color paint over a darker base coat. Sanding through the top layer to reveal the darker color underneath creates the best, most natural-looking wear.
3. Contact Paper is Your Best Friend
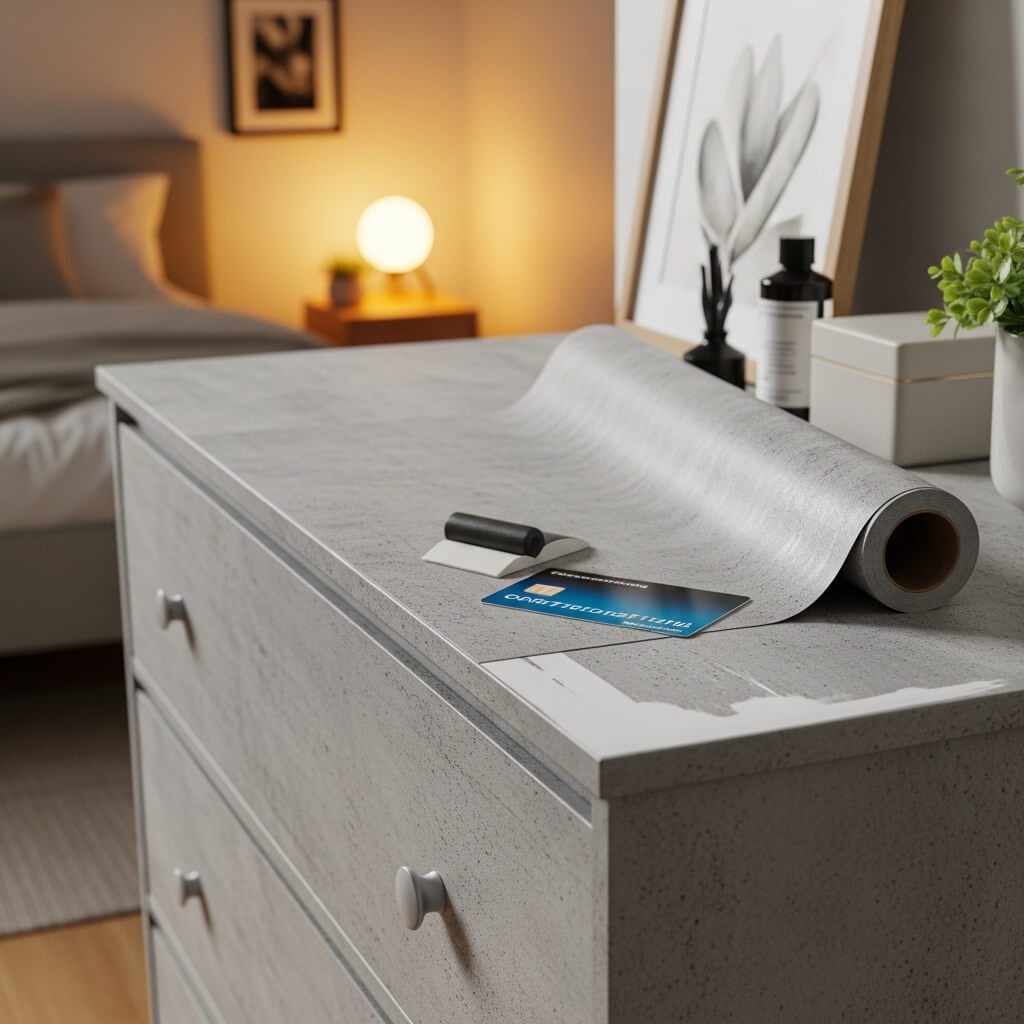
Don’t want to commit to paint? Peel-and-stick contact paper is a renter’s dream.
Line the inside of dusty drawers, cover a boring tabletop, or modernize an old fridge. The patterns available now are insane—marble, woodgrain, even funky patterns.
Story Time: I once covered a whole 80s laminate dresser in a faux concrete contact paper. It looked so cool and took about an hour. FYI, a credit card is the best tool to smooth out bubbles as you go.
4. Modernize with New Hardware
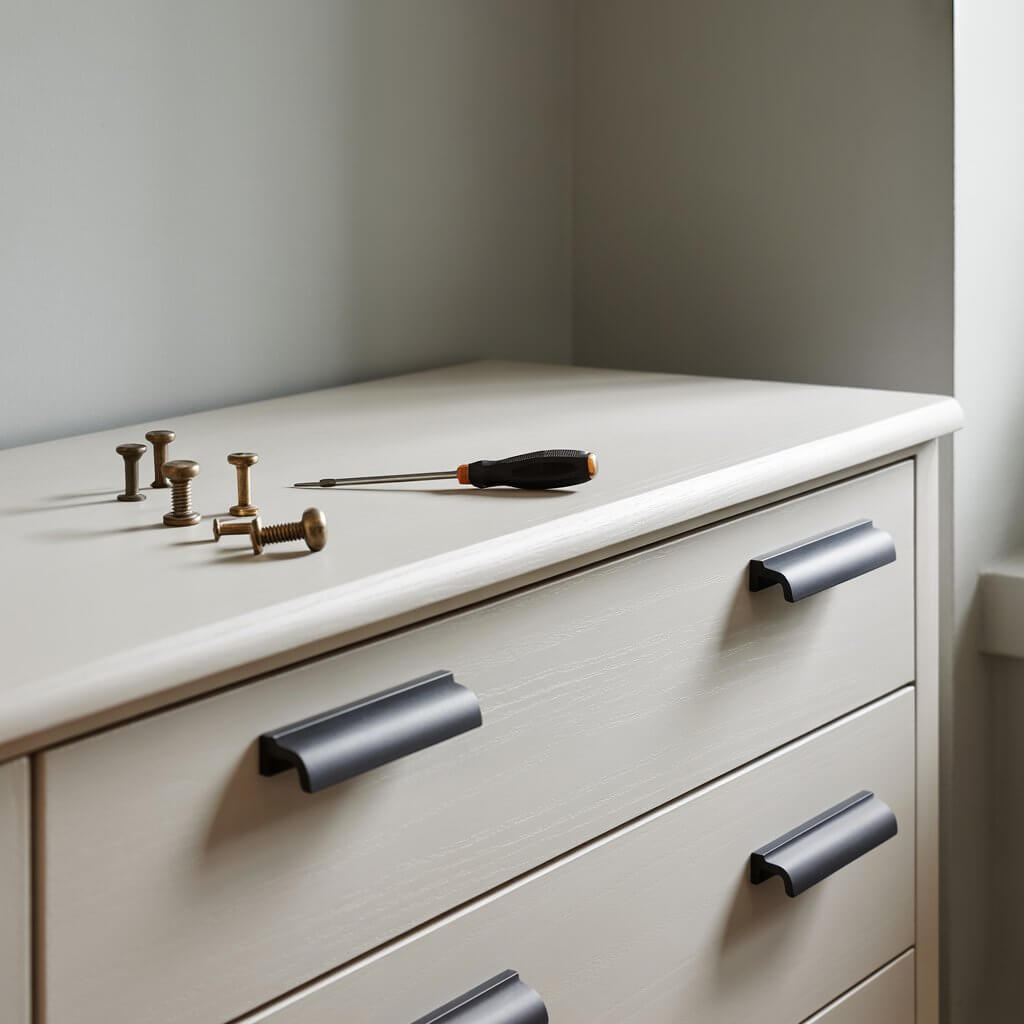
Swapping out knobs and pulls is the furniture equivalent of a great haircut.
Ditch those dated brass handles for some sleek black bin pulls or fun ceramic knobs. It takes one screwdriver and about ten minutes, but the impact is massive.
Personal Take: Mixing and matching hardware on a single piece (like different but complementary knobs on each drawer) is a major pro move. It looks curated, not lazy.
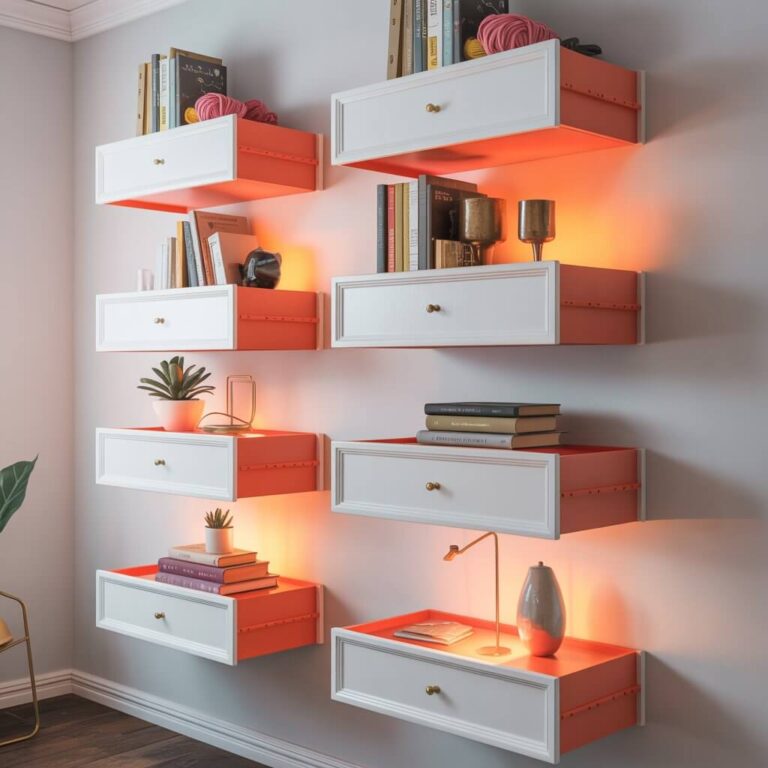
5. Two-Tone Magic
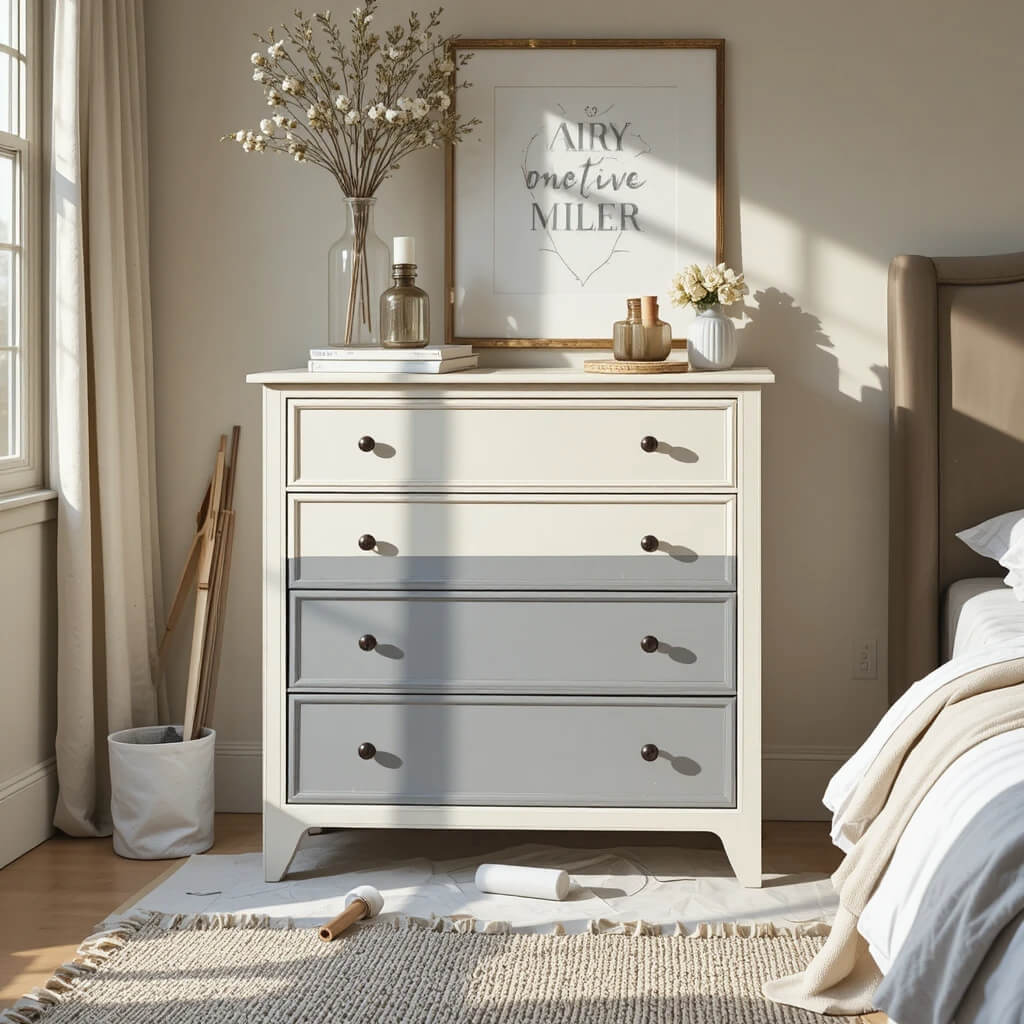
Why choose one color? Paint the body of a dresser one shade and the drawers another. Or do the legs a contrasting color from the tabletop. This adds visual interest and can trick the eye into seeing a more custom, designer piece.
Pro Move: Tape off your lines with painter’s tape and use a small foam roller for the cleanest, crispest edge. Seriously, it’s a game-changer for clean lines.
6. The Power of a Good Stain
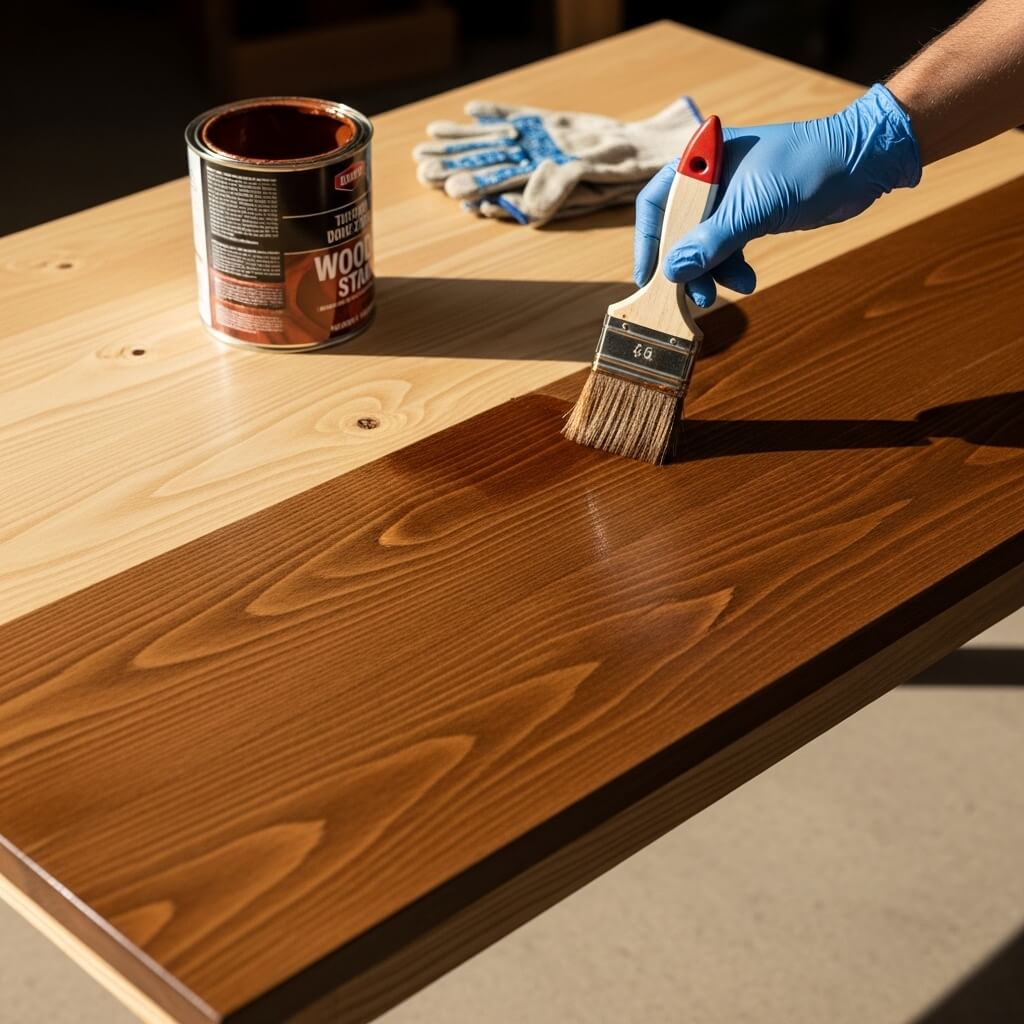
Got a piece with beautiful wood grain hiding under an ugly finish? Strip it back and restain it. Water-based stains are easier for beginners and clean up with just soap and water. You go from orangey oak to rich walnut in an afternoon.
Downside: Stripping old finish is the messy, smelly part of the job. Do it outside, wear gloves, and maybe don’t plan on smelling nice for the day. Worth it, though.
7. Upholster a Simple Seat
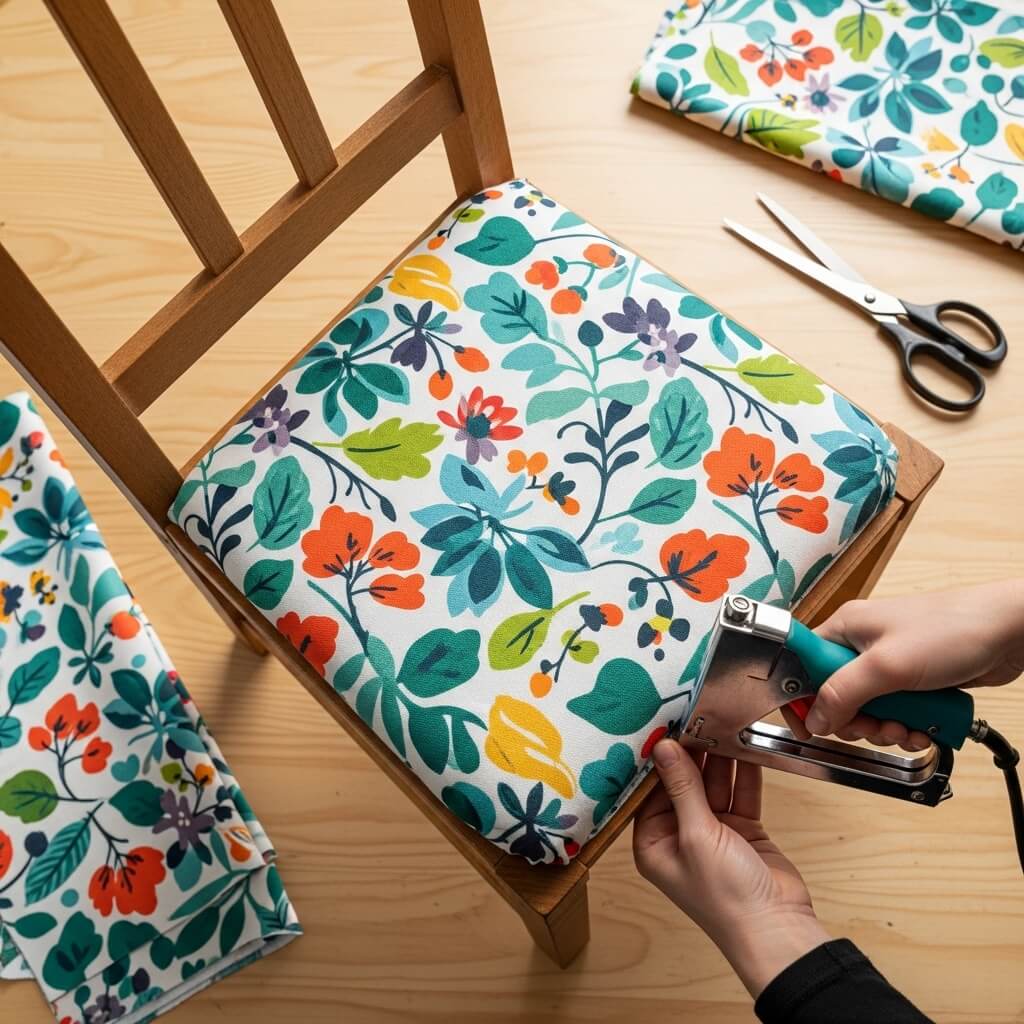
That wooden dining chair with the sad cushion? It’s an easy fix. Unscrew the seat, lay it on new fabric (like a fun, durable cotton or canvas), staple gun the fabric taut underneath, and screw it back on. Instant upgrade.
Personal Fave: I use affordable outdoor fabric or even a heavy-duty tablecloth for this. It’s tough, comes in great prints, and is usually easy to wipe clean. Hello, spaghetti night!
8. Decoupage for Whimsy
Channel your inner arts-and-crafter. Use Mod Podge to adhere pretty paper, fabric scraps, maps, or even pages from an old book to a tabletop or drawer front. Seal it with a few more coats for durability. It’s personalized, quirky, and so fun.
Pro Tip: For large surfaces, use a wallpaper paste roller to apply the Mod Podge evenly and avoid frustrating wrinkles or bubbles in your paper.
9. Whitewash for Beachy Texture
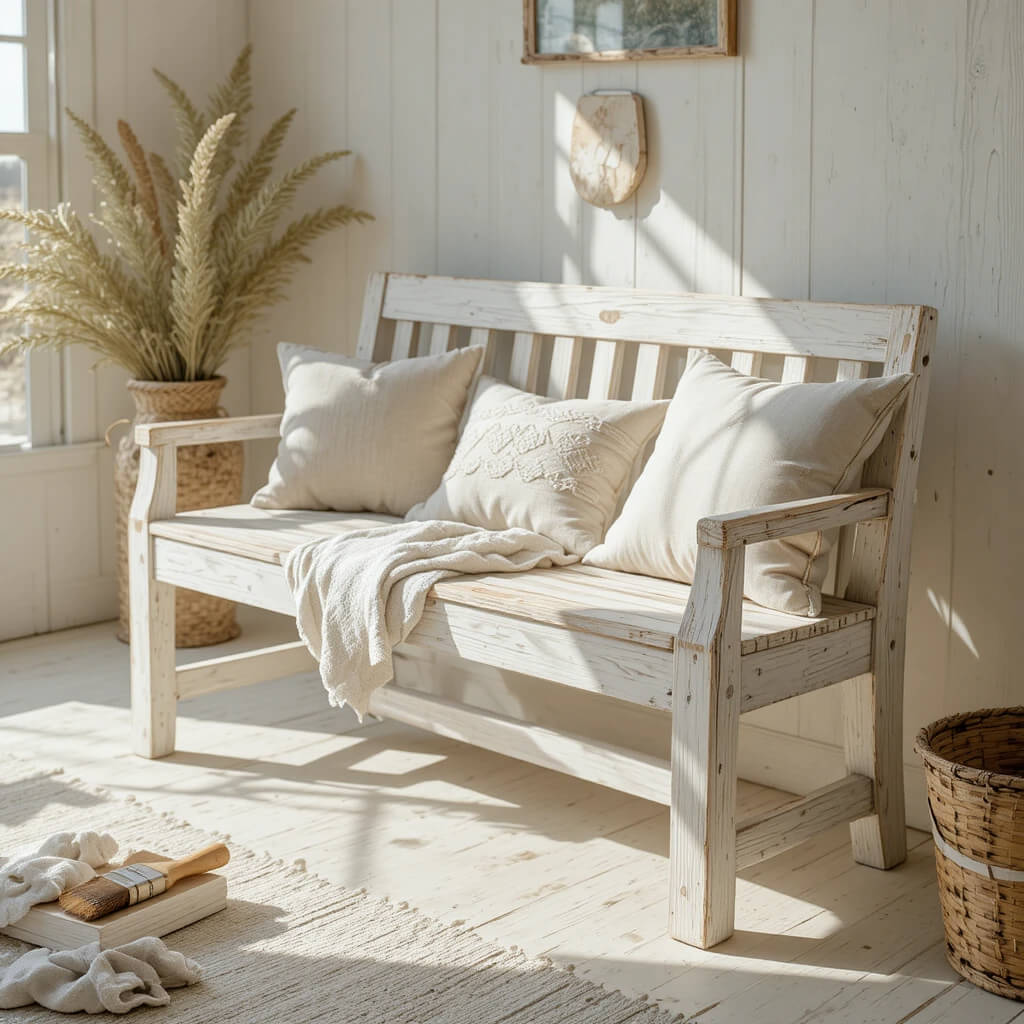
Dilute white paint with water, brush it over raw or lightly sanded wood, and immediately wipe it off with a rag. This leaves a translucent, weathered finish that lets the wood grain show through. It’s breezy, bright, and hides nothing.
Story Time: I tried this on a pine bench and got a little wipe-happy. You want to work in small sections so you can control the opacity. Less wiping = more opaque coverage.
10. Stencil a Pattern
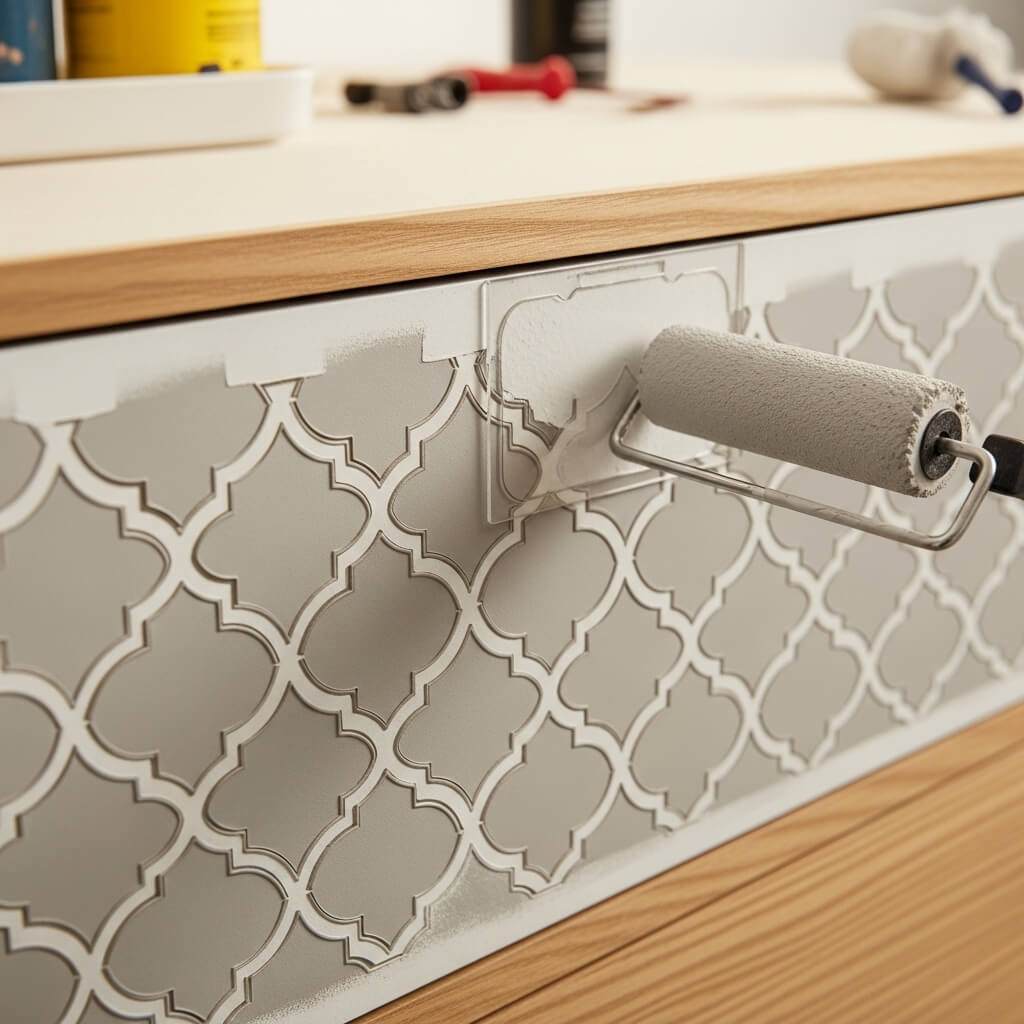
Intimidated by freehand art? Stencils are your cheat code. Use a small stencil roller to add a geometric, floral, or Moroccan pattern to a plain dresser front, tabletop, or even the sides of a bookshelf. It adds custom detail without the stress.
Personal Take: Anchor your stencil with a bit of repositionable spray adhesive. It stops the paint from bleeding underneath and saves you from a smudgy mess. Trust me on this one.
11. Add Modern Legs

Find a solid but aesthetically challenged cabinet or bench? Screw on some hairpin legs or tapered wooden legs from an online retailer. Suddenly, your grandma’s heavy trunk is a sleek, mid-century modern sideboard. It’s literally a lift for your furniture.
Pro Move: Always measure and mark where the legs will go before you drill. A wonky leg will make your whole piece wobble, and nobody has time for that.
12. Chalkboard Paint Fun
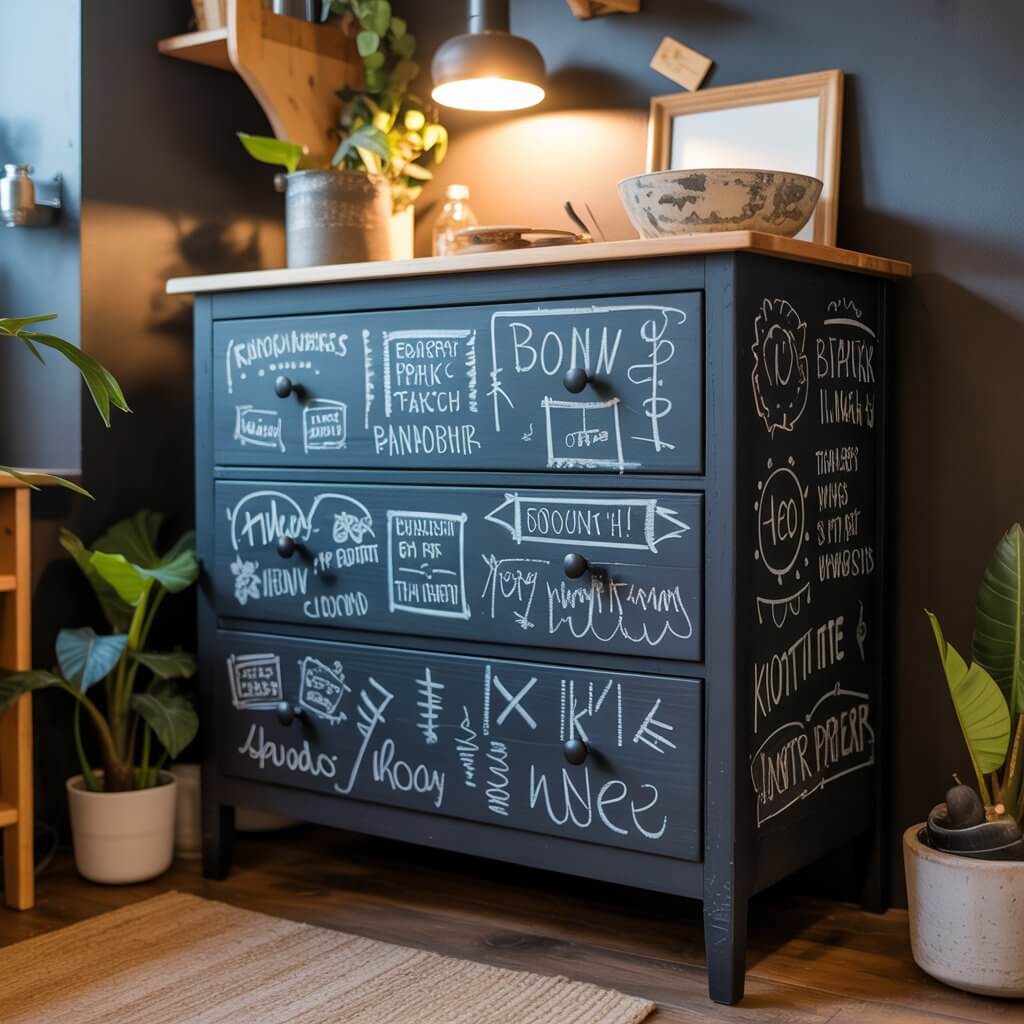
Turn a cabinet door, a tabletop, or even a whole small dresser into a functional chalkboard. It’s perfect for a kid’s room (drawing station!) or a kitchen (groceries list!). Write messages, draw art, erase, and repeat.
Downside: It can be dusty. Use a liquid chalk marker instead of traditional chalk for less mess and sharper lines. Just wipe off with a damp cloth.
13. Clean Lines with Tape
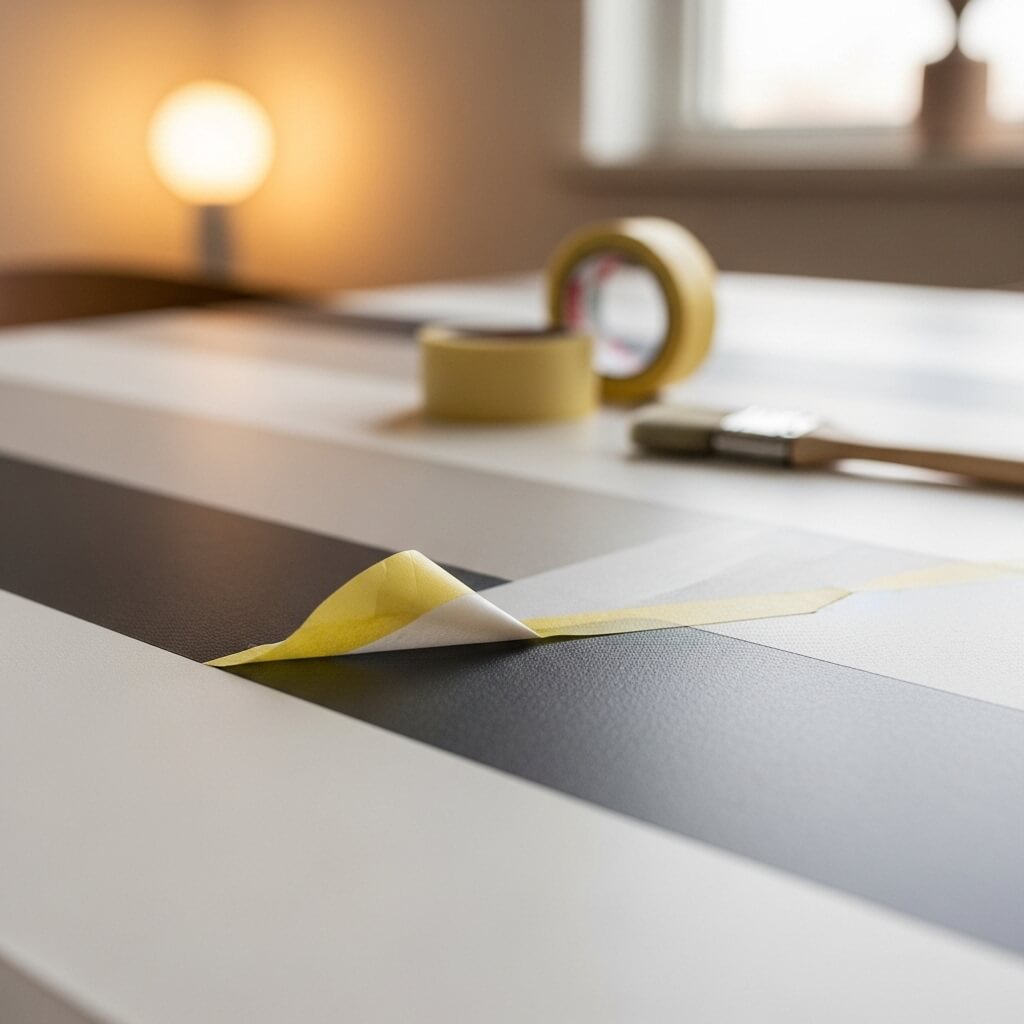
Create bold, graphic stripes or geometric designs using painter’s tape. Paint over it, let it dry slightly, and peel the tape away to reveal crisp lines. This works amazingly on tabletops, drawer fronts, and plain walls behind open shelving.
Pro Tip: Remove the tape when the paint is just touch-dry, not rock hard. This gives you the cleanest edge and prevents the paint from peeling up with the tape.
14. Refresh with Fabric or Wallpaper
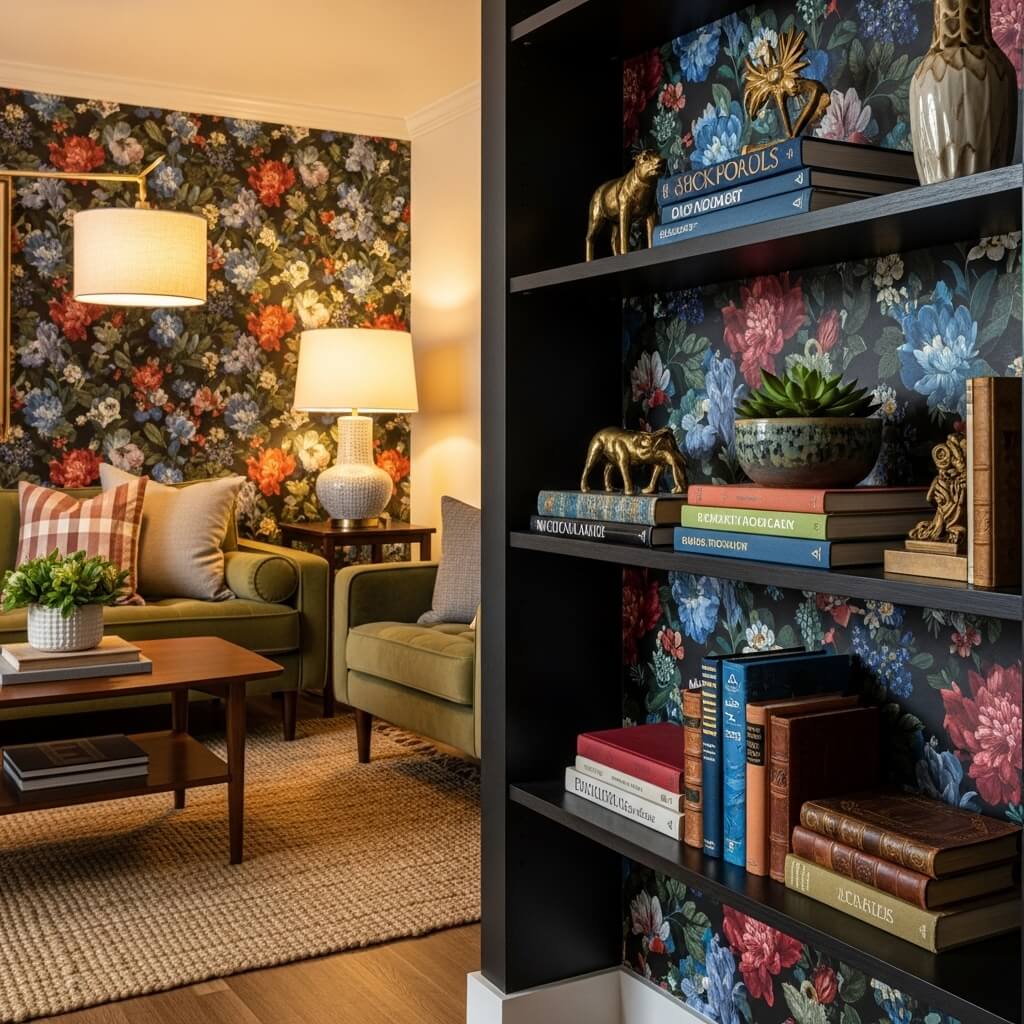
Not just for contact paper! Use wallpaper or a gorgeous fabric to line the back panel of a bookshelf or a hutch. It adds a pop of pattern and depth that makes your displayed items really stand out. Glue it on with wallpaper paste or a strong spray adhesive.
Personal Fave: This is the fastest way to make a cheap, big-box shelf look totally custom. I used a leftover roll of dramatic floral wallpaper, and it became the room’s focal point.
15. Ombré Fade Effect

Pick two or three shades of the same color paint. Paint the darkest at the bottom of a piece, blending into the lighter shade(s) as you move up. It adds a gorgeous, gradient, artsy feel that’s easier than it looks with a dry brush blending technique.
Pro Tip: Work in vertical sections and blend while the paint is still wet. Don’t overthink it—a little imperfection in the blend makes it look more organic and less rigid.
16. Gold Leaf Accents
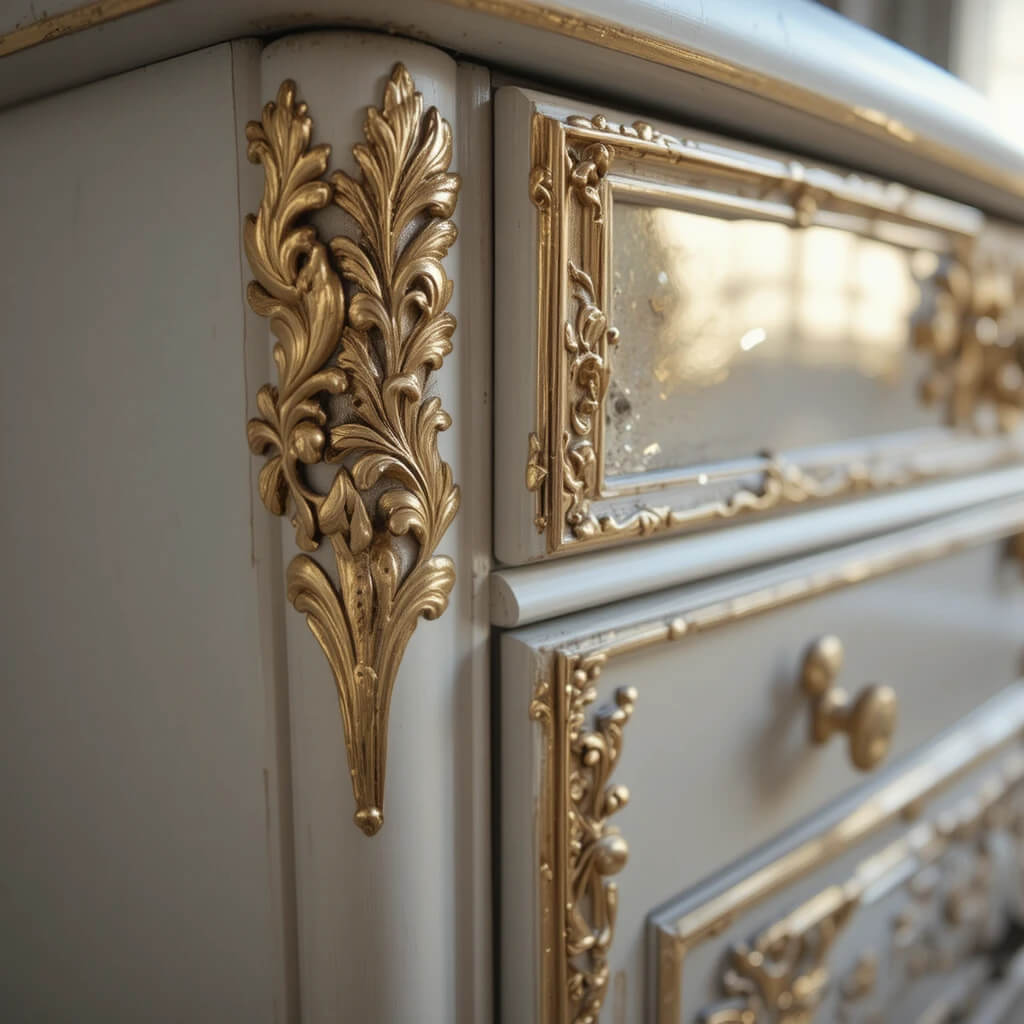
Feeling fancy? Apply imitation gold leaf (it’s actually super affordable) with special adhesive to drawer pulls, the edges of a mirror frame, or intricate carvings on a piece. It adds unbelievable glamour and catches the light beautifully.
Story Time: My first attempt was… flaky. The key is to apply the adhesive thinly, let it get tacky, and then gently press the leaf on with a soft brush. Less is more, and seal it afterward!
17. Pep Up with Peel-and-Stick Tiles
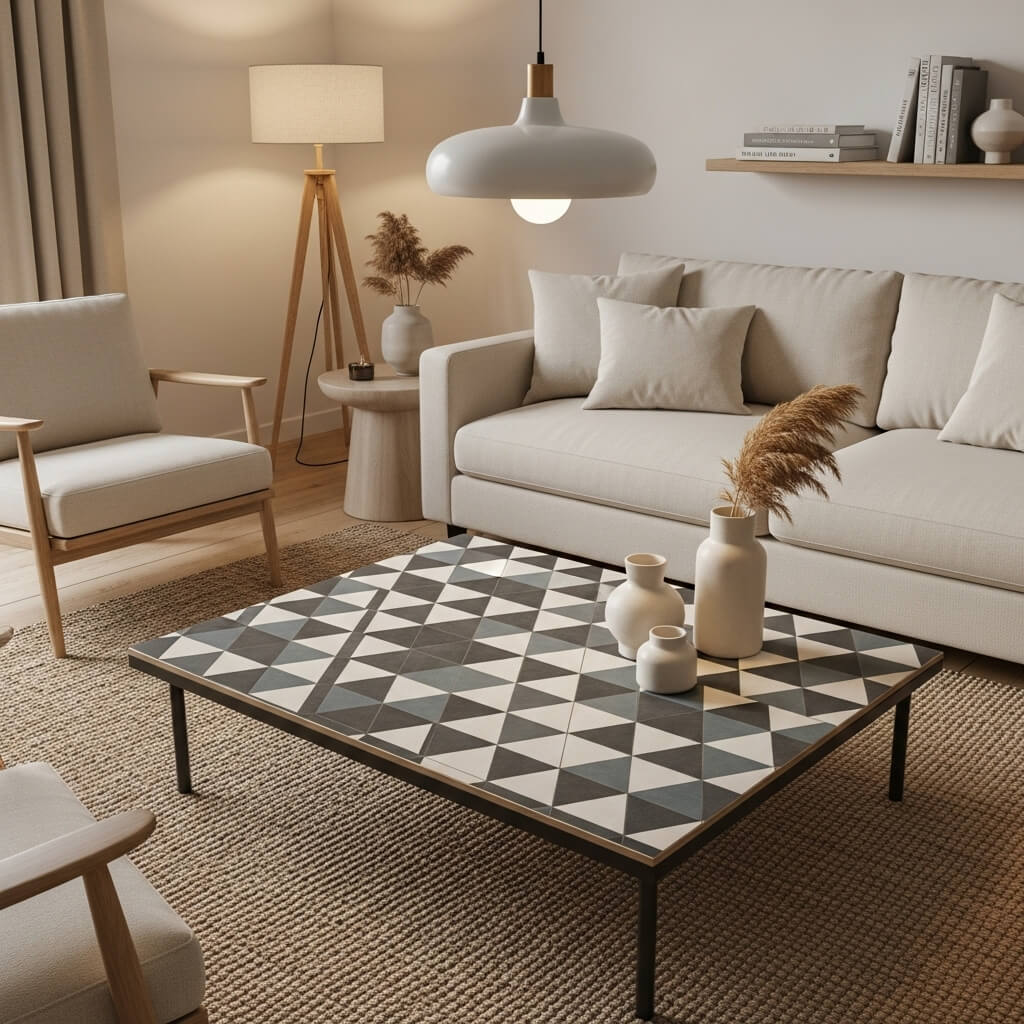
Those modern, geometric peel-and-stick floor tiles aren’t just for floors. Use them to create a stunning, durable new surface for a coffee table top, a nightstand, or an accent wall on a cabinet. They’re waterproof and seriously tough.
Personal Take: This is a brilliant solution for those laminate pieces that just won’t hold paint. It gives you a totally new texture and pattern with zero drying time.
18. The “Good Enough” Sanding Job

Here’s a secret: you often don’t need to sand down to bare, perfect wood. A light “scuff sand” with medium-grit sandpaper is usually enough to rough up the surface so new paint or primer has something to grip. Stop when the shiny finish is gone.
Pro Move: Use a sanding block, not just paper. It’s easier on your hands and gives you a more even pressure. And always, always wipe away the dust with a damp cloth before you paint.
Your Thrifted Treasure Awaits
See? None of that sounded like brain surgery, right?
Each of these ideas starts with one simple step: just choosing a piece and diving in. You’ll learn more from one slightly wobbly paint job than from a hundred perfect Pinterest pins.
So, hit that local thrift store or look at that basement cast-off with new, creative eyes. Grab a brush, embrace the happy accidents, and get ready to brag, “Oh, this old thing? I did it myself.”
Now go make some magic—and send me pictures!