13 Halloween DIY Decorations That Are Easy and Creative
Halloween DIY Decorations are one of the easiest ways to make your home feel festive without spending a fortune on store-bought decorations. From spooky ghosts and creepy candles to eerie wreaths and playful pumpkin displays, a few simple supplies can completely transform your space.
The best part? You do not need to be an expert crafter. Many of these projects use everyday items such as paper, jars, cardboard, fabric, twine, and old containers. Whether you are decorating a front porch, living room, dining table, or party area, these ideas are designed to be simple, creative, and fun to make.
So grab your craft supplies, put on your favorite Halloween playlist, and get ready to create decorations that make your home wonderfully spooky.
1. Floating Cheesecloth Ghosts

Few decorations capture the Halloween spirit quite like a ghost. These floating cheesecloth ghosts are inexpensive, lightweight, and surprisingly easy to make. They look especially impressive when several are grouped together at different heights.
What You Need
- Cheesecloth or thin white fabric
- Balloons
- Plastic cups or small bowls
- Water
- White school glue
- String or fishing line
- Black marker or black paper
How to Make It
Start by inflating a balloon to the size you want for the ghost’s head. Place the balloon over an upside-down cup or bowl so it stays elevated. Mix equal parts white glue and water in a container, then dip the cheesecloth into the mixture until it is thoroughly coated.
Drape the wet fabric over the balloon, allowing some sections to hang naturally around the sides. Leave it overnight until completely dry. Once hardened, carefully remove the balloon.
Add simple eyes with black paper or a marker, then hang your finished ghost from the ceiling, porch, doorway, or a tree.
For an extra eerie effect, place a small LED light beneath the ghost so it glows softly after dark. This is one of those Halloween DIY Decorations that looks much more elaborate than it actually is.
2. Spooky Mason Jar Lanterns

Old glass jars can become atmospheric Halloween lanterns with just a little paint and creativity. They work beautifully on dining tables, windowsills, shelves, porches, and outdoor steps.
Clean and dry several jars, then paint simple Halloween faces on the outside. You could create traditional jack-o’-lantern faces, ghosts, monsters, bats, or creepy eyes.
Let the paint dry completely before placing a battery-operated tea light inside each jar. Avoid using real flames, especially if the decorations will be around children, pets, curtains, or other flammable materials.
For a more sophisticated look, use translucent orange, purple, or frosted paint instead of drawing traditional faces. Arrange the jars in groups of three or five for a cozy Halloween display.
These Halloween DIY Decorations are particularly useful because you can customize them to match almost any decorating style, from colorful and playful to dark and sophisticated.
3. A Creepy Halloween Wreath

A Halloween wreath is an easy way to make your front door instantly more festive. Instead of buying an expensive seasonal wreath, create your own using a basic craft wreath or even a cardboard ring.
Wrap the base with black ribbon, torn fabric, yarn, or artificial spiderweb material. Add plastic spiders, miniature pumpkins, paper bats, faux leaves, or a small wooden sign.
You can make the wreath elegant by sticking to black, white, and metallic accents. For something more playful, introduce orange, purple, green, and bright yellow.
One clever idea is to make a “BOO” wreath by attaching large paper or cardboard letters around the center. Another is to create a spider-themed wreath with a large faux spider positioned in the middle.
Hang the finished wreath on your front door, interior door, fireplace, or wall. Because the base can be reused every year, you can simply change the decorations when Halloween comes around again.
4. Hanging Paper Bats

If you want Halloween DIY Decorations that require almost no money, paper bats are an excellent choice. They can completely change the appearance of a blank wall while taking only a few minutes to make.
Draw or print a simple bat silhouette and use it as a template. Trace the shape onto black construction paper or cardstock and cut out several bats in different sizes.
Fold each bat gently down the center to give the wings a three-dimensional appearance. Attach them to walls with removable adhesive or hang them from the ceiling using clear thread.
For a dramatic effect, arrange the bats as though they are flying out from behind a picture frame, mirror, doorway, or staircase. Start with a small cluster and gradually spread them outward.
You can also create a large swarm leading toward your front door. This simple arrangement gives the impression of movement and makes an ordinary wall feel much more dynamic.
5. DIY Eyeball Flowerpots

Turn ordinary flowerpots into creepy Halloween decorations by transforming them into giant eyeballs.
Use clean terracotta or plastic pots and paint the exterior white. Once dry, add a large colored iris and black pupil. For a more unsettling effect, paint red veins spreading outward from the eye.
You can leave the pots empty or fill them with plants. Green plants with long, trailing leaves can look particularly creepy because they resemble hair around the giant eyes.
For an outdoor display, arrange several eyeball pots along your porch or walkway. Indoors, place one beside a staircase, fireplace, or entryway.
If you already have plain plant pots around the house, this project is an excellent way to give them a temporary seasonal makeover without purchasing new décor.
6. Halloween Spiderweb Window

Windows are often overlooked when decorating for Halloween, but they provide a perfect canvas for creepy displays.
For an easy spiderweb effect, use black yarn or removable black tape. Create several intersecting lines from a central point and then connect the lines with curved sections to form a web.
Add a few plastic spiders for extra detail. If you are decorating a children’s room, use friendly-looking spiders rather than extremely realistic ones.
Another option is to make a giant web using white yarn against a dark window. During the evening, turn on a lamp nearby so the web becomes visible from outside.
These Halloween DIY Decorations are especially effective because they use vertical space that would otherwise remain empty. They can also help create a cohesive theme when combined with bats, ghosts, and lanterns elsewhere in the room.
7. Painted Mini Pumpkins

You do not have to carve pumpkins to create an attractive Halloween display. Painting mini pumpkins is less messy, lasts longer, and gives you much more creative freedom.
Choose several small pumpkins or artificial craft pumpkins. Paint them black, white, orange, gray, or any combination that suits your décor.
Try simple patterns such as:
- Black and white stripes
- Polka dots
- Checkerboard designs
- Tiny ghosts
- Spiderwebs
- Stars and moons
- “BOO” lettering
- Metallic geometric patterns
Arrange the painted pumpkins on a tray, mantel, bookshelf, dining table, or entryway console.
For a modern home, stick to two or three complementary colors. If you prefer traditional Halloween décor, use orange and black with small accents of purple or white.
Painting pumpkins also makes a great family activity because children can create their own designs without handling sharp carving tools.
8. Monster Door

Turn an ordinary interior or exterior door into a giant Halloween monster. This project is particularly fun for families because it creates an instant focal point.
Use colored paper or cardstock to create two large eyes, eyebrows, teeth, and a mouth. Attach the pieces to the door using removable adhesive.
You can create a friendly monster with a silly expression or a scary creature with sharp teeth and dramatic eyes.
For an even more creative design, turn the entire doorway into a mummy by wrapping strips of white fabric or paper around it. Leave a pair of eyes peeking through the “bandages.”
The monster door works wonderfully for Halloween parties, classrooms, children’s bedrooms, and front entrances. It also photographs well, making it a fun backdrop for Halloween pictures.
9. Creepy Candle Holders From Recycled Containers

Recycling everyday containers into spooky candle holders is a smart way to make Halloween décor while reducing waste.
Small cans, glass containers, and sturdy jars can all be transformed. Clean them thoroughly, remove sharp edges, and decorate the outside with black paint, paper, twine, or Halloween-themed stickers.
You can paint silhouettes of haunted houses, cats, bats, trees, or pumpkins onto the surface. Place battery-powered candles inside to create a soft glow.
For a haunted-house effect, cut small windows and doors into sturdy containers so light shines through the openings. This creates tiny illuminated buildings that look wonderful grouped together.
Always use LED candles for DIY containers unless the materials and construction are specifically designed for real flames. Safety is more important than the spooky atmosphere.
10. Hanging Witch Hats

Floating witch hats create a magical Halloween atmosphere without taking up valuable floor or table space.
Purchase inexpensive black witch hats or make simple versions from black cardstock. Attach clear fishing line to each hat and suspend them from the ceiling.
Hang the hats at different heights over a dining table, entryway, party station, or living room. Add small LED lights inside some hats so they glow from within.
You can make the display more interesting by combining the hats with hanging stars, moons, bats, or small paper ghosts.
The trick is to vary the heights and spacing rather than arranging everything in a straight line. A slightly irregular arrangement makes the display feel more whimsical and gives the impression that the hats are magically floating.
11. DIY Haunted Picture Frames

Give ordinary picture frames a creepy Halloween makeover. This is one of the easiest Halloween DIY Decorations for people who prefer a vintage or haunted-house aesthetic.
Find inexpensive frames from a thrift store or use old frames you already own. Paint them black, gray, dark brown, or an aged metallic shade.
Inside the frames, place spooky silhouettes, old-fashioned Halloween illustrations, skeleton drawings, ravens, haunted houses, or fictional “family portraits.”
For an antique appearance, lightly brush a little gray or white paint over the edges once the base color has dried. This creates an aged effect without requiring complicated techniques.
Hang several frames together to create a gallery wall. For an especially creepy presentation, mix different frame shapes and sizes.
You can even leave one frame slightly crooked. Small imperfections often make Halloween displays feel more authentic and mysterious.
12. DIY Pumpkin Centerpiece

A Halloween table does not need an elaborate arrangement to look impressive. A simple pumpkin centerpiece can become the star of your dining table.
Start with a large tray, wooden board, or shallow basket. Add several pumpkins in different sizes and colors. Surround them with artificial leaves, pinecones, twigs, small LED candles, or faux spiderwebs.
For a more elegant arrangement, use white and cream pumpkins with black accents. Add a few black taper-style LED candles for a sophisticated look.
For a traditional Halloween table, use orange pumpkins surrounded by dark greenery and small decorative spiders.
The key to attractive Halloween DIY Decorations is often layering. Place taller elements toward the back, medium-sized pumpkins in the middle, and smaller accents toward the front. This creates depth instead of making everything appear flat.
If you are preparing the table for a party, keep the centerpiece low enough that guests can comfortably see one another across the table.
13. DIY Halloween Porch Scene

Your porch is the first part of your home guests see, so why not turn it into a miniature Halloween scene?
You do not need expensive props. Start with a few handmade elements such as paper bats, cheesecloth ghosts, painted pumpkins, lanterns, signs, and faux spiderwebs.
Arrange pumpkins along the steps or around the entrance. Hang a wreath on the door and suspend a ghost or witch hat overhead. Add a homemade sign with a message such as “Enter If You Dare” or “Beware.”
For a more dramatic scene, create a simple haunted corner using an old chair, a black cloth, a lantern, and a few artificial branches. You can even place a painted cardboard tombstone beside it.
Think about height when designing the porch. Place some decorations on the floor, others on steps or tables, and several overhead. This creates a layered display that feels much more substantial.
Battery-operated lights can add warmth and visibility after sunset. Choose outdoor-rated decorations and keep walkways clear so your Halloween display remains safe for visitors.
How to Make Halloween DIY Decorations Look More Expensive
The secret to impressive Halloween décor is not necessarily buying more decorations. Halloween DIY Decorations look polished when you pay attention to color, texture, placement, and repetition.
Choose a simple color palette. Black and orange create a classic Halloween look, while black and white can feel more sophisticated. Purple and black produce a mysterious atmosphere, while green accents can give your decorations a monster or witch-inspired theme.
Texture is equally important. Combine smooth painted pumpkins with rough burlap, soft fabric, natural branches, paper, glass, and faux spiderwebs. Mixing textures makes a display more visually interesting.
Repetition also creates a professional appearance. Instead of using one bat, make ten. Rather than placing one small pumpkin on a table, group pumpkins in three different sizes.
Most importantly, avoid covering every available surface. A few carefully arranged Halloween DIY Decorations can have more impact than a room packed with unrelated objects.
Easy Ways to Personalize Your Halloween Decorations
One advantage of making your own decorations is that you can match them to your home’s existing style.
For a minimalist Halloween, use black, white, and natural materials. Choose simple pumpkins, silhouettes, candles, and understated wreaths.
For a traditional Halloween, embrace orange pumpkins, black cats, ghosts, witches, bats, and spiderwebs.
For a cute Halloween, use smiling ghosts, colorful pumpkins, friendly monsters, and playful signs.
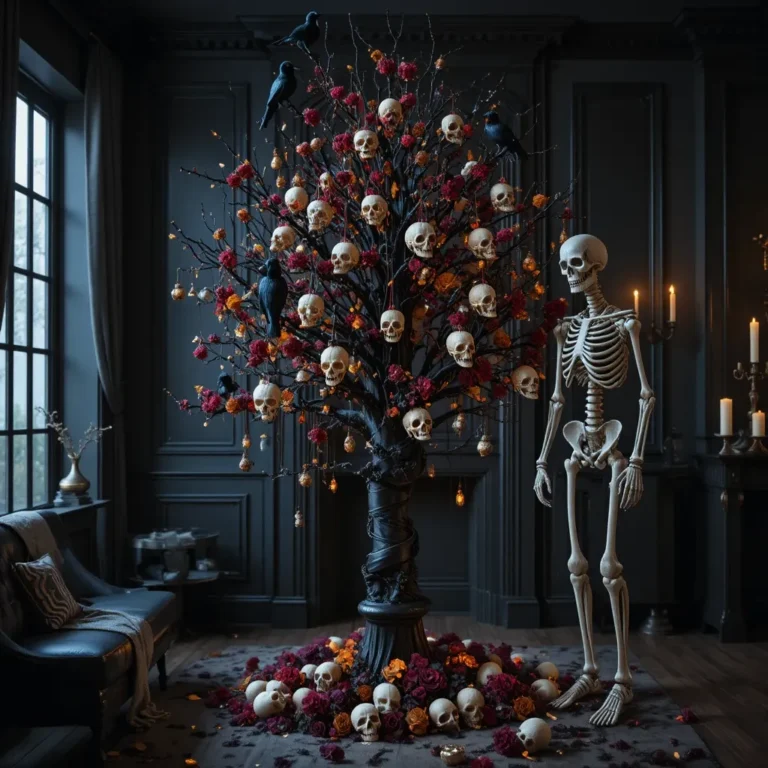
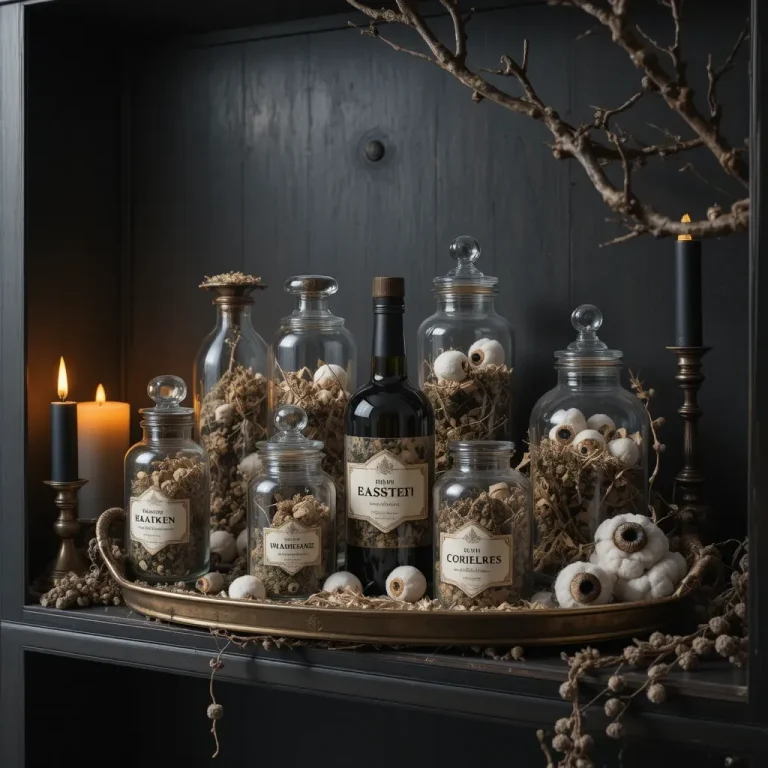
For a gothic Halloween, focus on dark colors, vintage frames, faux candles, ravens, dried branches, and dramatic fabrics.
For a family-friendly Halloween, choose projects that children can participate in, such as painted pumpkins, paper bats, monster doors, and decorated jars.
You can also personalize decorations with names, family messages, favorite Halloween characters, or colors that coordinate with your home.
Tips for Making Halloween DIY Decorations on a Budget
You do not need a large crafting budget to create a memorable Halloween home. Start by looking around your house for materials that can be reused.
Cardboard shipping boxes can become tombstones or signs. Empty jars can become lanterns. Old sheets can become ghosts. Newspaper can be used for papier-mâché projects. Scrap fabric can become table runners, hanging decorations, or wreath accents.
Thrift stores are another excellent source of inexpensive decorating materials. Look for old frames, baskets, vases, trays, candlesticks, fabric, and furniture pieces that can be repurposed.
When buying craft supplies, choose versatile materials that can be used for several projects. Black cardstock, white paint, twine, glue, removable adhesive, and battery-operated lights can be surprisingly useful.
Planning your theme before shopping also prevents unnecessary purchases. Decide which rooms you want to decorate and which projects will have the greatest visual impact.
How to Make Your Halloween Decorations Last Longer
A little preparation can help you reuse your favorite Halloween DIY Decorations year after year.
Store paper decorations flat in folders or large envelopes. Wrap fragile painted items individually in tissue paper or bubble wrap. Keep fabric decorations clean and completely dry before storing them in sealed containers.
Outdoor decorations require extra attention. Bring paper, cardboard, and fabric decorations indoors during heavy rain or strong winds. If you want to reuse outdoor décor, choose weather-resistant materials or protect vulnerable surfaces with an appropriate sealant.
Label your storage containers so you can quickly find your Halloween supplies next year. You can also keep a small box specifically for reusable Halloween craft materials.
The goal is to build a collection of decorations that can be refreshed and rearranged instead of starting from scratch every October.
A Simple Halloween Decorating Plan
If you are not sure where to begin, decorate in stages.
Start with the entrance. Add a wreath, pumpkins, a sign, or a few hanging bats.
Move to the main living area. Choose one focal point such as a fireplace, wall, shelf, or coffee table.
Decorate the dining area. Create a simple centerpiece with pumpkins, lanterns, or candles.
Add vertical decorations. Hanging ghosts, witch hats, bats, and spiderwebs make a room feel festive without taking up furniture space.
Finish with lighting. Soft LED candles and lanterns can dramatically change the atmosphere after sunset.
This approach keeps the decorating process manageable and helps every part of your home feel connected.
Conclusion
The best Halloween decorations do not have to be complicated, expensive, or professionally made. With a few basic supplies and a little imagination, you can create a home that feels festive, spooky, and completely your own.
From floating ghosts and paper bats to painted pumpkins, creepy lanterns, haunted frames, and a dramatic porch scene, these Halloween DIY Decorations offer plenty of ways to make your space memorable. Choose a few projects that match your style, involve the family, reuse materials where possible, and focus on creative details rather than quantity.
Most importantly, have fun with it. Halloween is the perfect excuse to experiment, get a little silly, and turn ordinary household items into something unexpectedly spooky.

13 Halloween DIY Decorations That Are Easy and Creative
Looking for simple Halloween decorating projects? Try these 13 easy and creative Halloween DIY decorations to make your home festive on a budget. Find approachable homemade Halloween crafts and decor ideas for shelves, tables, mantels, walls, entryways, and parties. These creative projects are ideal for beginners who want impressive spooky decorations without complicated supplies or techniques. #DIYHalloween #HalloweenCrafts #HalloweenDecor #EasyDIY #HalloweenIdeas
Pin it on Pinterest