16 Halloween Window Painting Ideas That Will Make Your Home Spooktacular
Halloween window painting ideas are one of the easiest ways to turn ordinary windows into eye-catching seasonal decorations. Whether you want something spooky, cute, elegant, or completely family-friendly, a little washable paint can make a surprisingly big impact.
The best part? You don’t need to be an experienced artist. With simple shapes, stencils, and a few carefully chosen colors, you can create windows that look festive from both inside and outside your home.
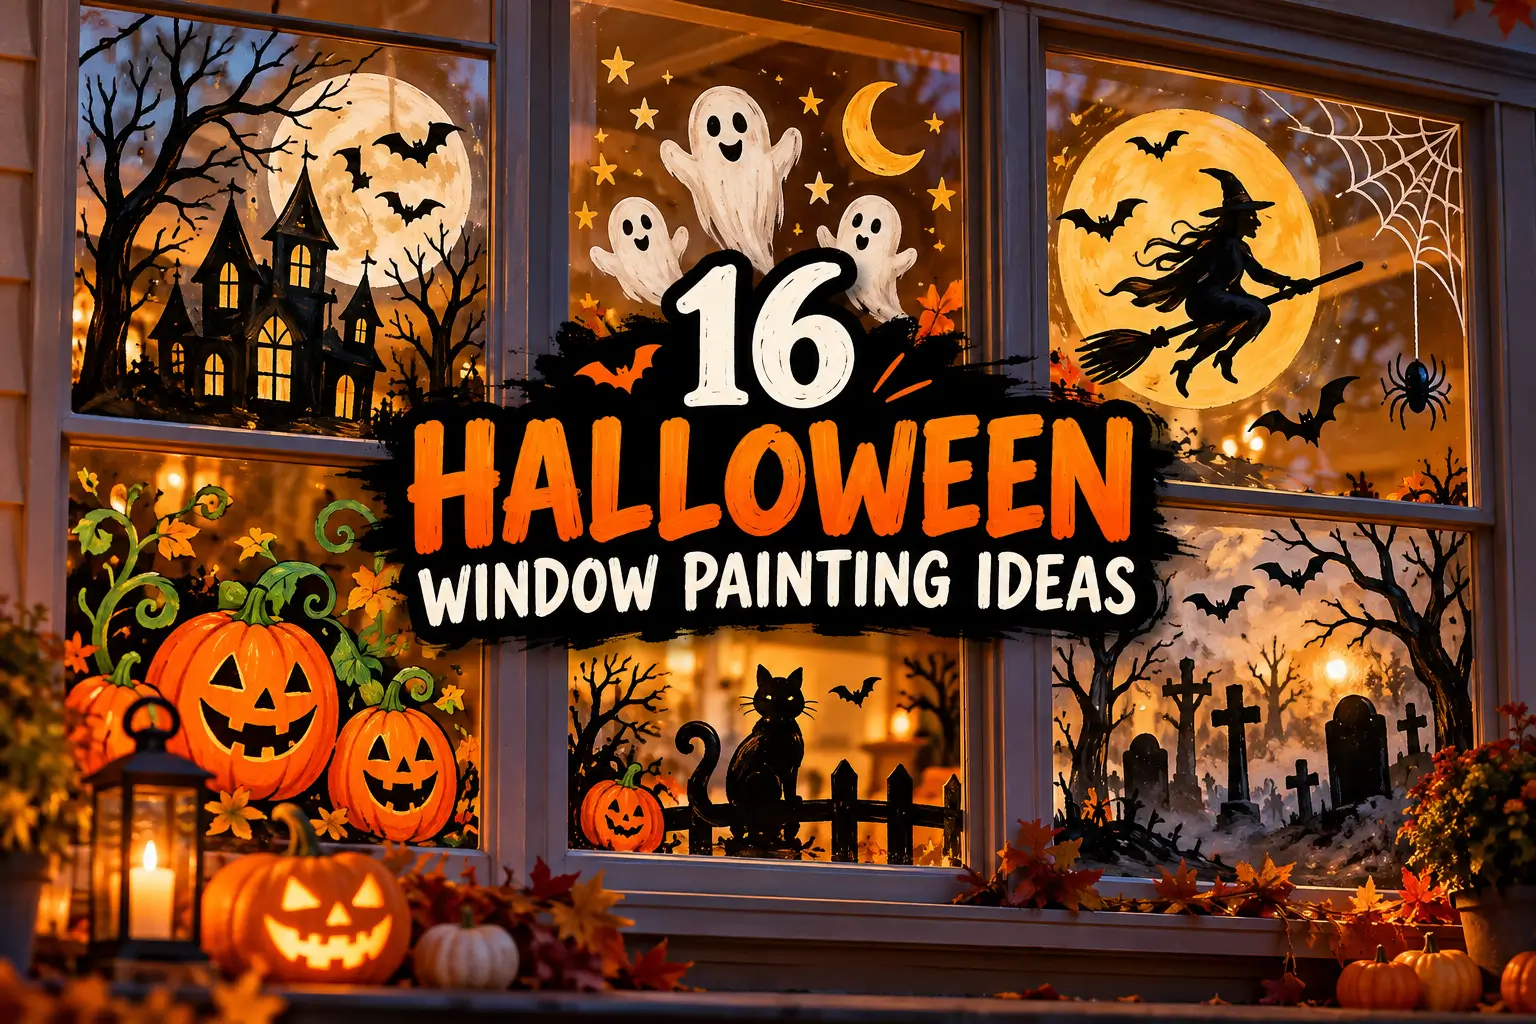
From creepy haunted houses and flying bats to smiling pumpkins and whimsical ghosts, these 16 Halloween window painting ideas will help you create a memorable Halloween display without spending a fortune.
1. Classic Haunted House Window
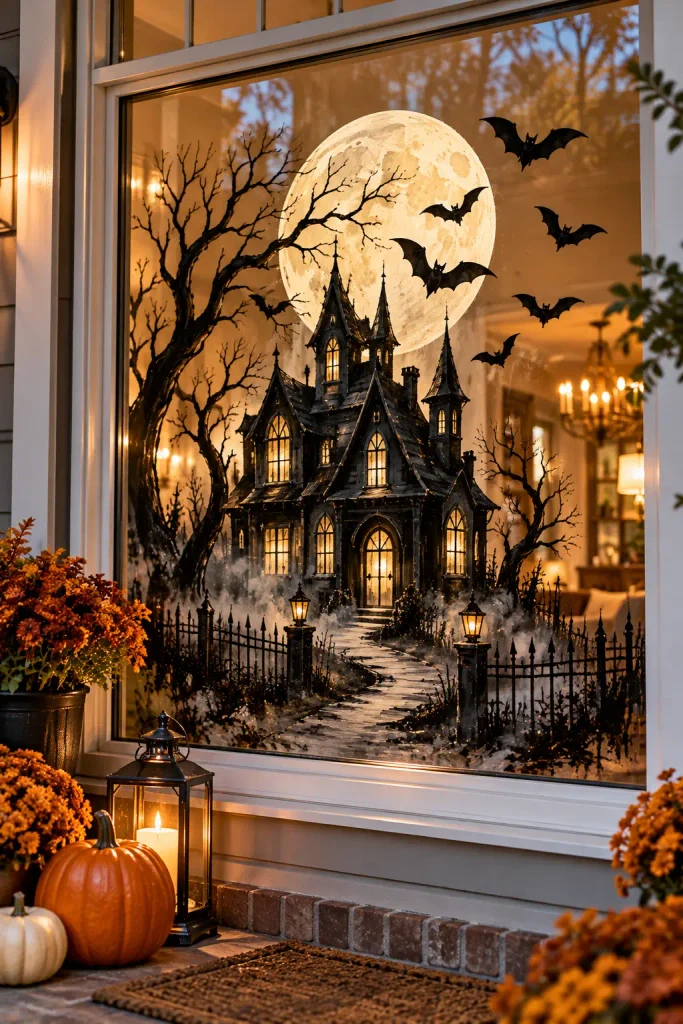
Turn your window into a miniature haunted scene with a crooked old house, pointed rooflines, bare trees, and a large moon glowing behind the silhouette.
Use black paint for the house and trees, then add gray, white, or pale yellow details for windows and moonlight. A few flying bats across the sky can make the scene even more dramatic.
Design tip: Keep the lower portion of the window darker and let the moon occupy the upper background. This creates depth without requiring complicated artwork.
2. Friendly Ghost Family
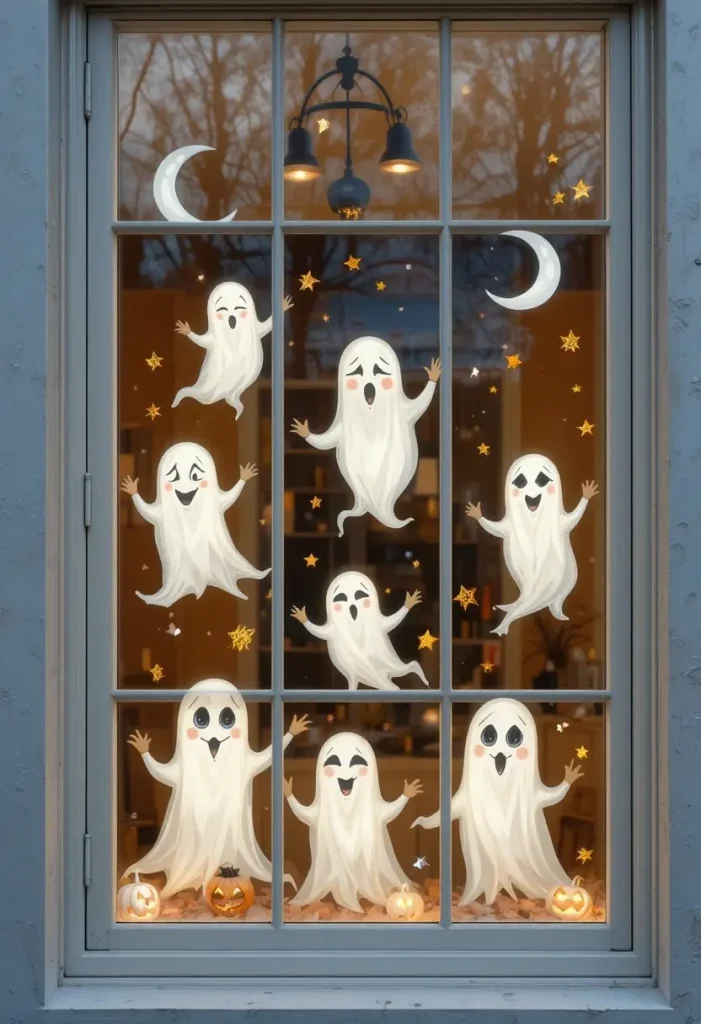
Not every Halloween decoration needs to be frightening. Create a cheerful family of ghosts floating across your window for a playful display that children will especially enjoy.
Paint several ghosts in different sizes and poses. Give each one a slightly different expression—happy, surprised, sleepy, or mischievous.
Add tiny stars, moons, and floating pumpkins around them to complete the scene.
Why it works: The simple ghost shape is extremely forgiving, making this one of the easiest halloween window painting ideas for beginners.
3. Spooky Pumpkin Patch
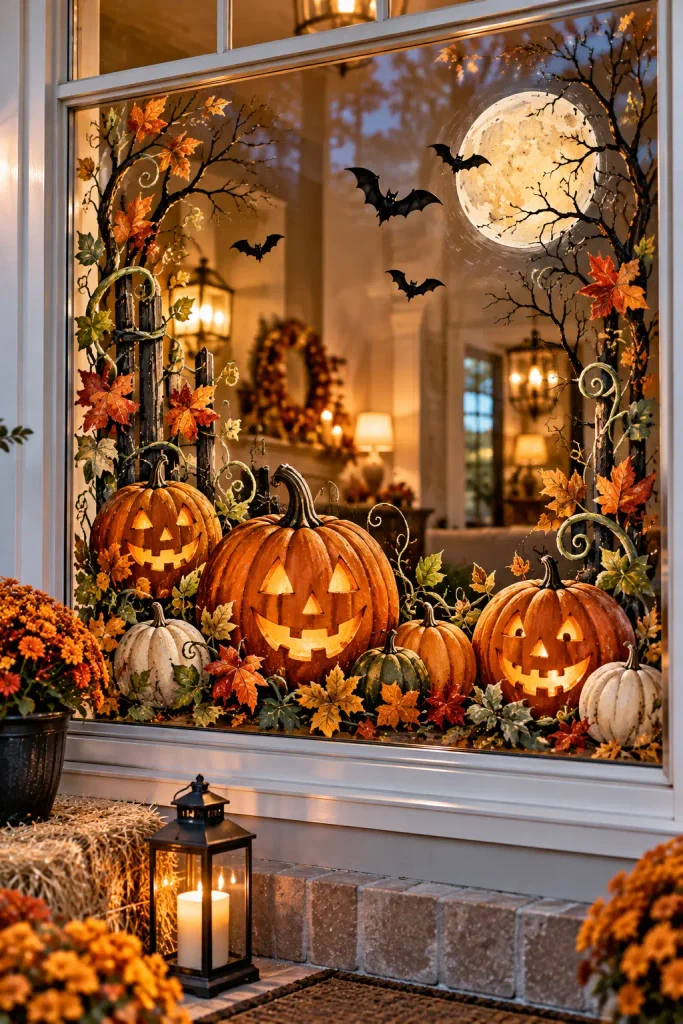
Create the feeling of an entire pumpkin patch without placing a single real pumpkin outside.
Paint pumpkins in different sizes along the bottom of your window. Give some traditional jack-o’-lantern faces while leaving others plain for visual variety.
Add curling vines, leaves, and a few small bats overhead.
For a sophisticated look, use traditional orange alongside cream, muted green, and warm brown rather than covering the entire window in bright orange.
4. Flying Bats Across the Window
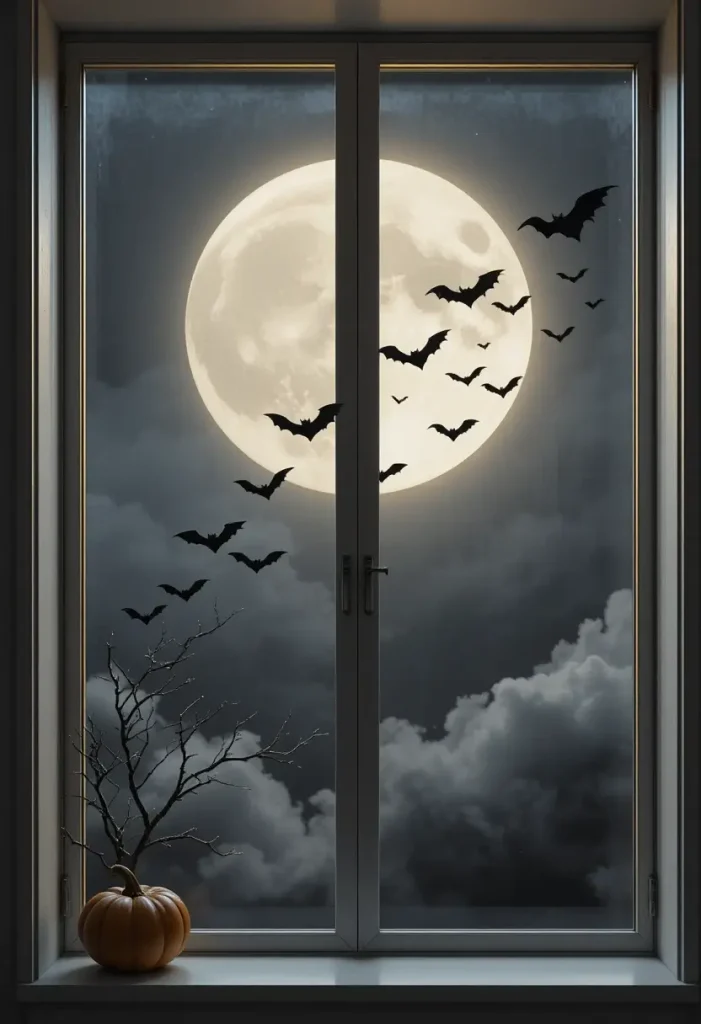
For something simple but striking, create a swarm of bats flying across the glass.
Start with a handful of larger bats near one side of the window and gradually make them smaller as they move toward the opposite corner. This gives the impression that the bats are flying into the distance.
You can keep the design entirely black or add a large white moon behind the flock.
Best for: Modern homes, apartment windows, shop windows, and anyone who prefers minimalist Halloween decor.
5. Witch Flying Across the Moon
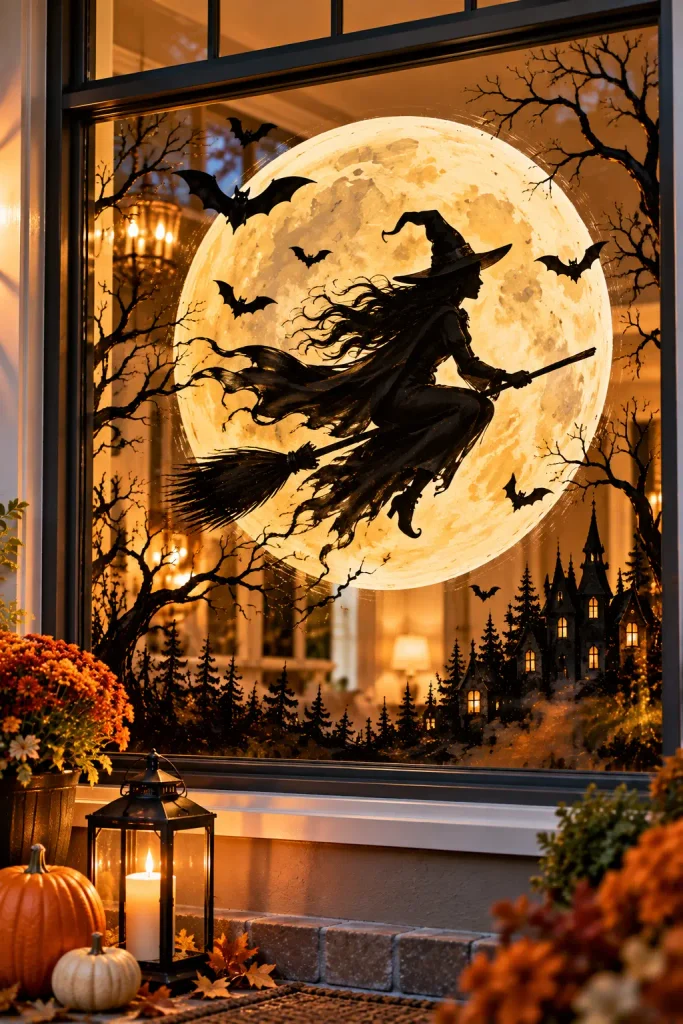
Create an instantly recognizable Halloween scene with a witch flying across a giant full moon.
Paint a large pale moon in the background and place the witch silhouette in front. Her pointed hat, broom, and flowing cape will create plenty of visual interest.
Add a few tiny bats around the moon to make the composition feel complete.
For a more elegant result, keep the palette limited to black, white, and muted gold or warm yellow.
6. Creepy Eyes in the Darkness
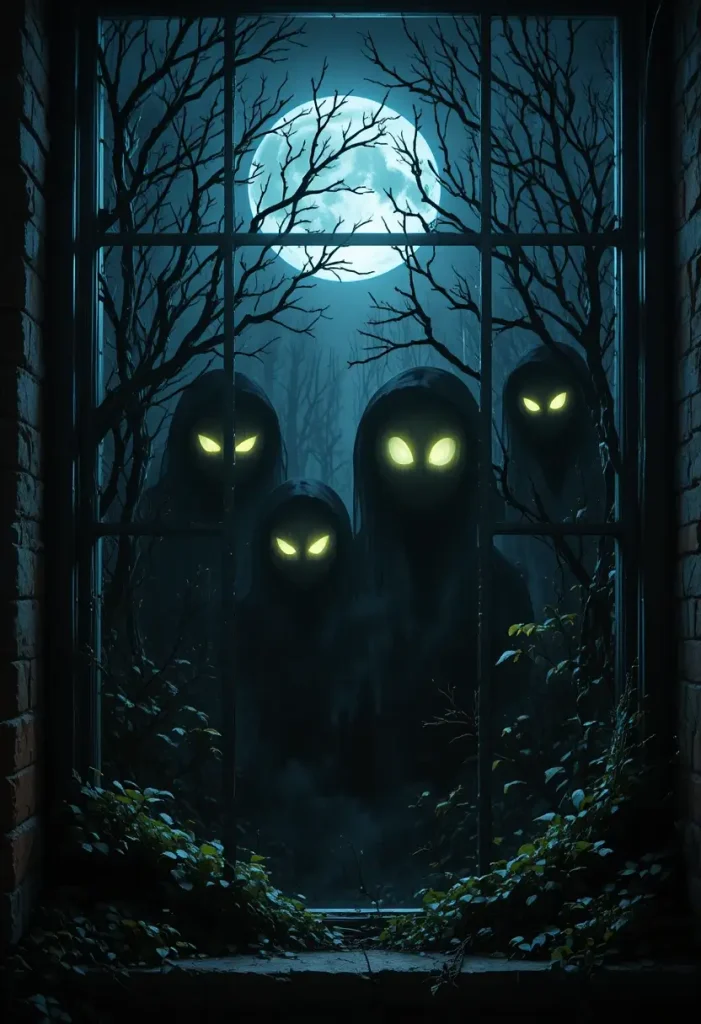
Want something mysterious without painting an elaborate scene? Try a pair of glowing eyes peeking through darkness.
Paint several pairs of eyes at different heights, with some partially hidden behind painted branches or silhouettes.
White, yellow, or pale green eyes against a dark background can create an eerie nighttime effect.
This idea is particularly effective on windows that face a dark garden or porch because the surrounding darkness becomes part of the design.
7. Cute Jack-o’-Lantern Window
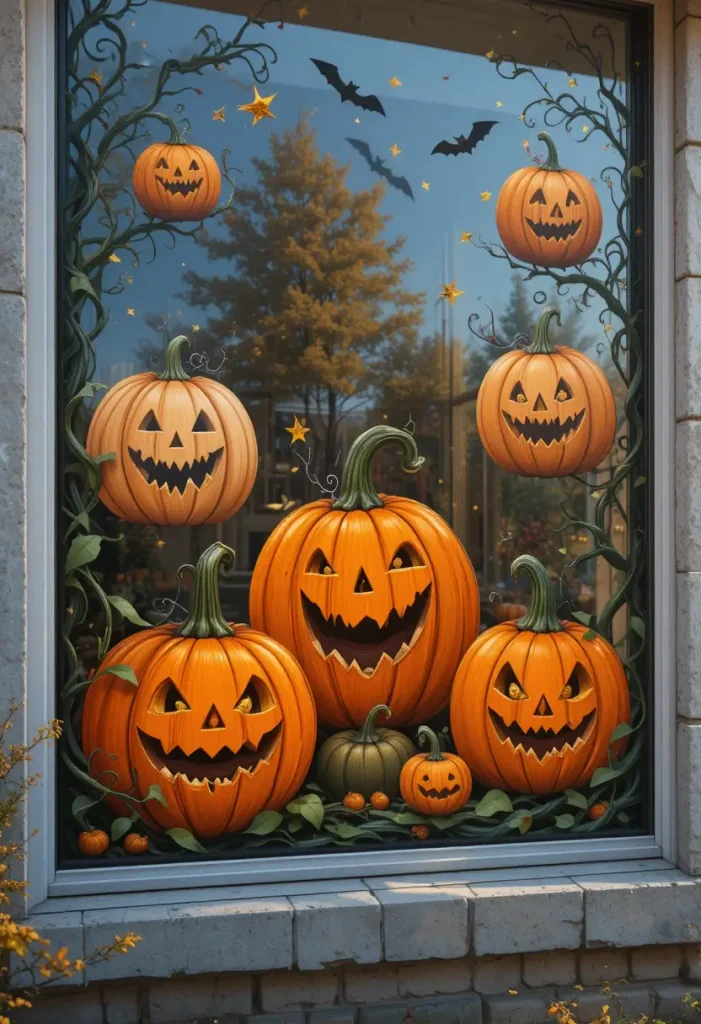
Give your window a cheerful Halloween makeover with oversized jack-o’-lanterns.
Paint several pumpkins with different personalities. One might have a huge smile, another a surprised expression, and another a sleepy face.
Add curly green vines around the edges to frame the design.
This is one of the best choices if you want Halloween decorations that feel festive rather than frightening.
8. Haunted Forest Silhouette
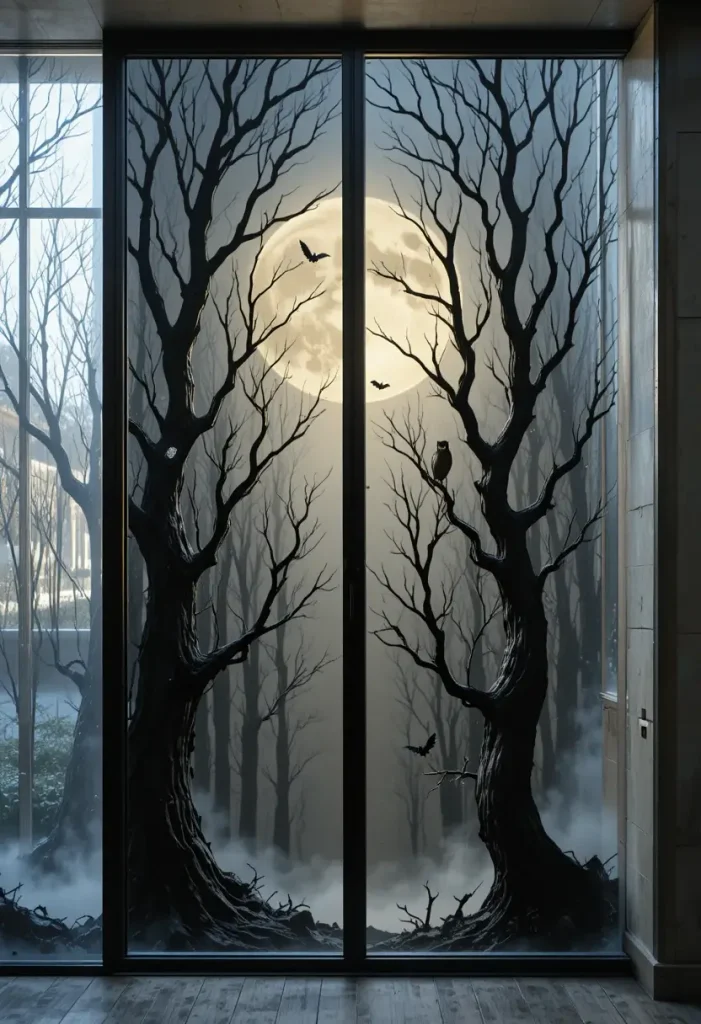
Transform your window into a mysterious forest by painting tall, twisted trees stretching toward the top of the glass.
Keep the trees mostly black and leave open areas between the branches. Behind them, paint a large moon or hazy gray sky.
A few flying bats, distant birds, or a tiny owl can add another layer of detail.
Pro tip: Don’t make every tree identical. Different heights and irregular branches will make the forest look much more natural.
9. Spiderweb Corner Design
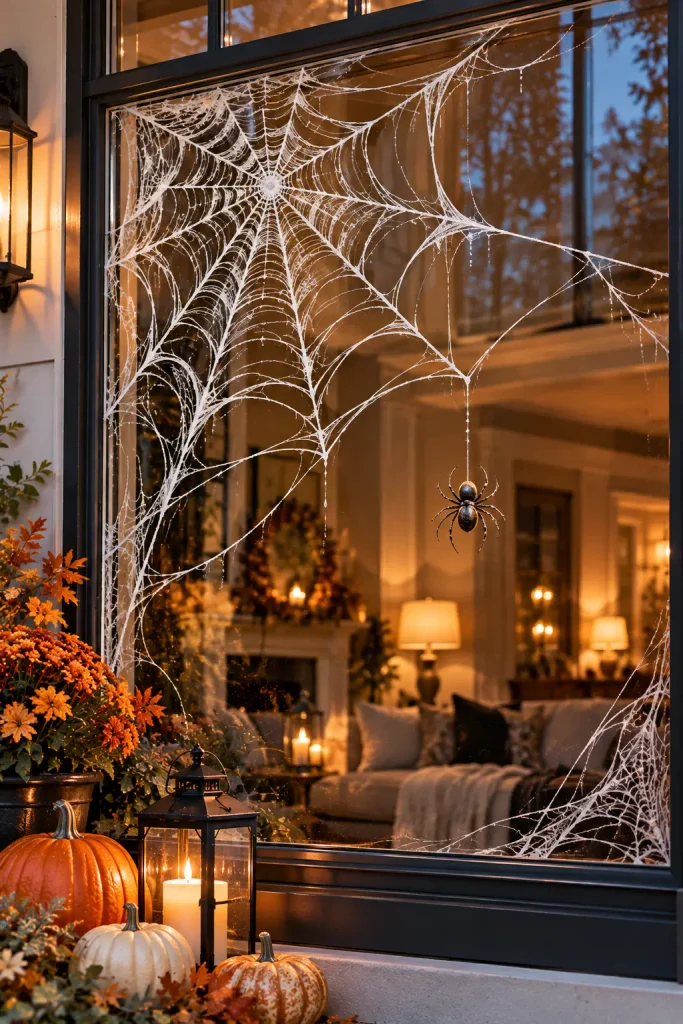
If you prefer understated Halloween decor, paint a large spiderweb spreading from one or two corners of the window.
Use white, silver, or pale gray paint against the glass. Add a realistic spider hanging from a single thread for a small but effective spooky detail.
This design works especially well when you don’t want to cover the entire window.
It is also easy to combine with other decorations, such as pumpkins, candles, or small bat silhouettes.
10. Graveyard at Midnight
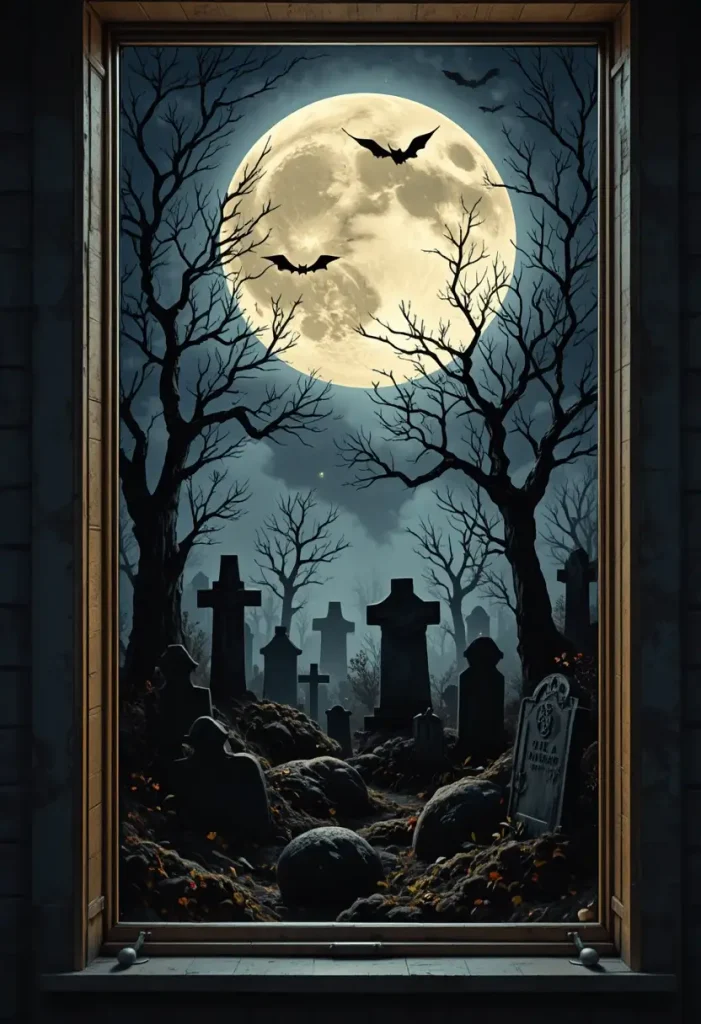
Create a classic Halloween cemetery scene with crooked tombstones, a full moon, twisted trees, and a few flying bats.
Paint the tombstones in different shapes and sizes rather than making them identical. Add simple cracks and engraved lettering for extra realism.
A dark foreground with a lighter moonlit background will make the scene appear much deeper.
For a family-friendly version, skip frightening figures and focus on atmospheric scenery.
11. Monster Faces Peeking Through
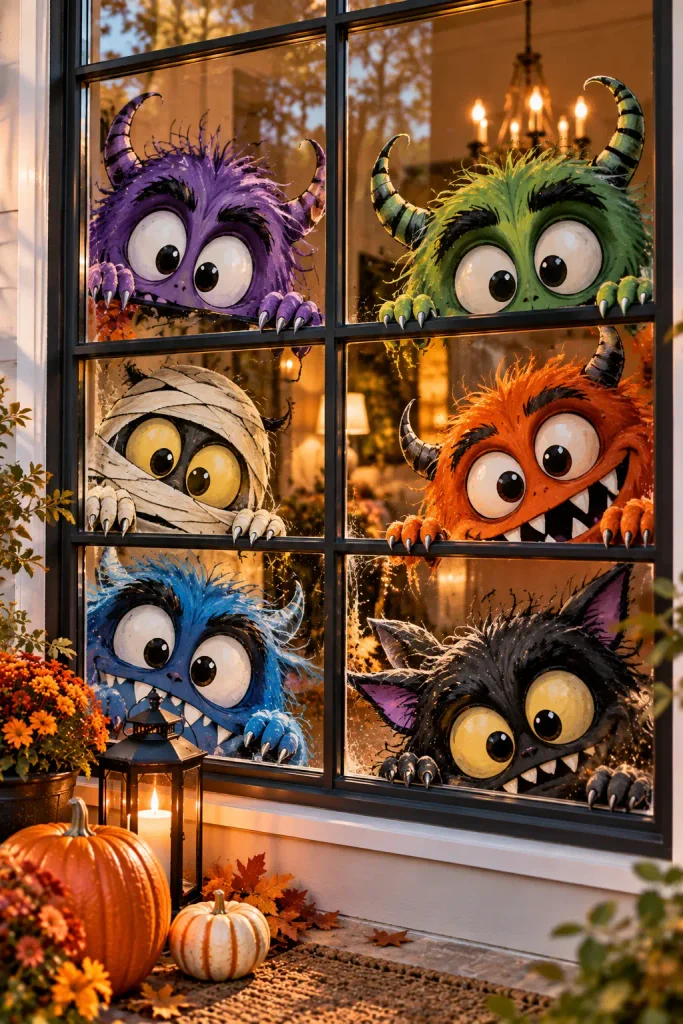
Turn your windows into a collection of colorful monster faces.
Paint oversized eyes, funny teeth, horns, ears, and expressive eyebrows. Give each monster a completely different personality.
You don’t need complicated anatomy—the more exaggerated and playful the features are, the better.
Use purple, green, blue, orange, and black to create a fun Halloween palette that feels energetic without becoming visually overwhelming.
12. Black Cat and Crescent Moon
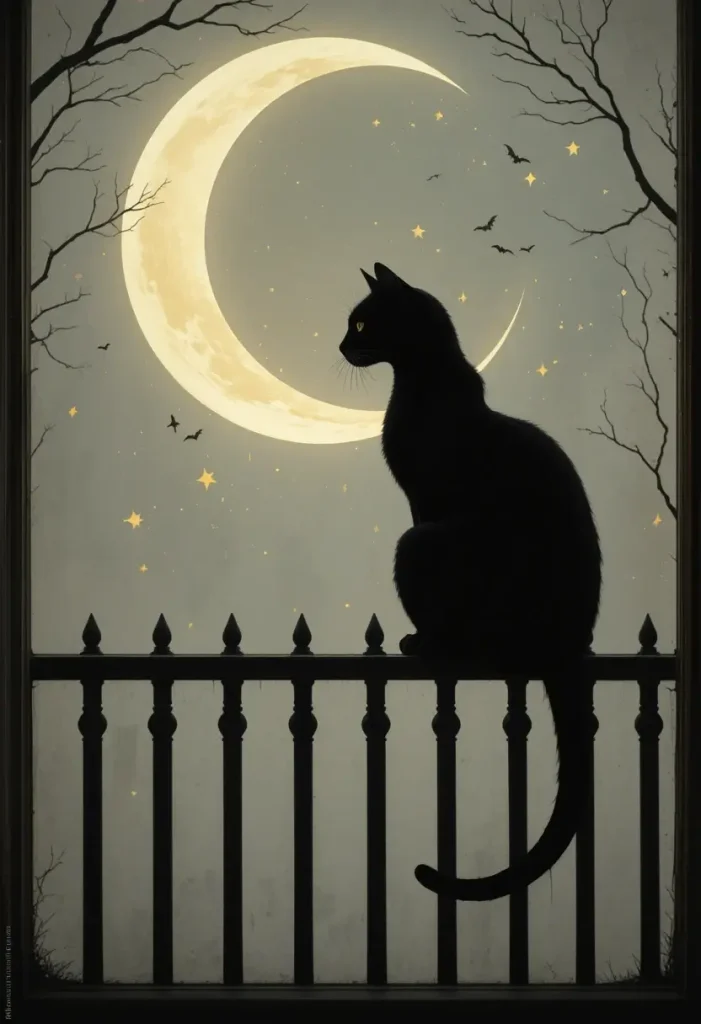
A black cat sitting beneath a crescent moon is a timeless Halloween image.
Paint the cat as a simple silhouette with its tail curled upward. Place it on a painted fence, windowsill, or tree branch.
A few tiny stars can fill the surrounding space without making the design too busy.
For an elegant display, use mostly black and warm ivory with just a hint of muted gold.
13. Potion Bottles and Magical Spells
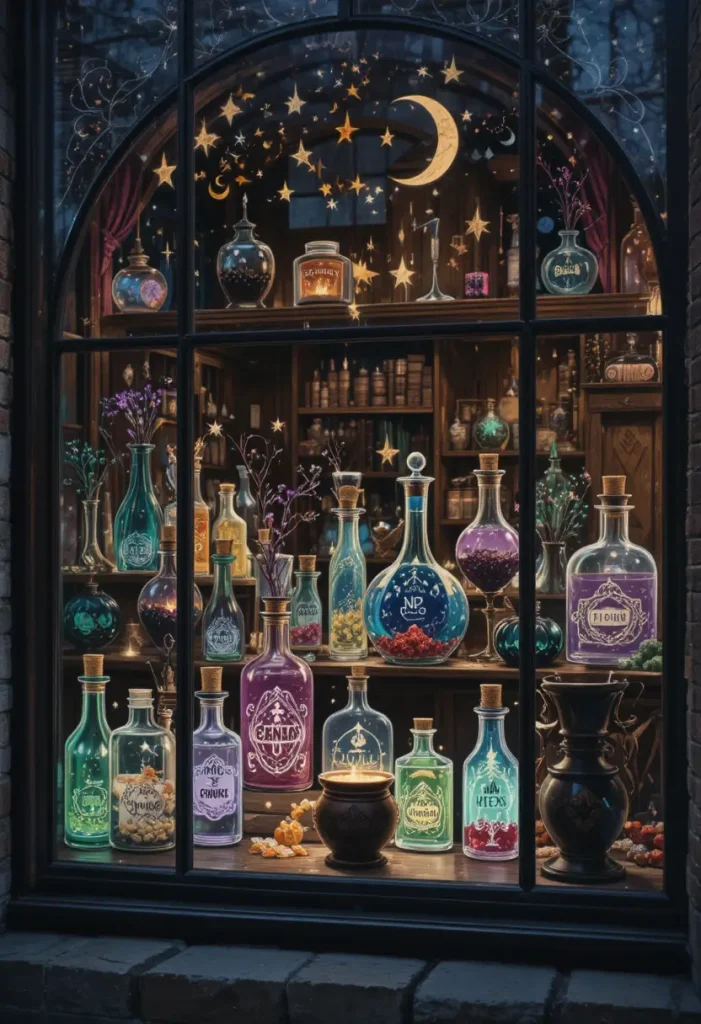
Give your window a magical witch’s-apothecary theme by painting potion bottles, bubbling cauldrons, stars, moons, and mysterious labels.
Use different bottle shapes and add whimsical details such as corks, bubbles, dripping liquid, and tiny flames.
Deep purple, emerald green, black, cream, and muted orange work beautifully together.
This is an especially fun choice for families because everyone can contribute a different potion bottle to the display.
14. Spooky Moonlit Cemetery
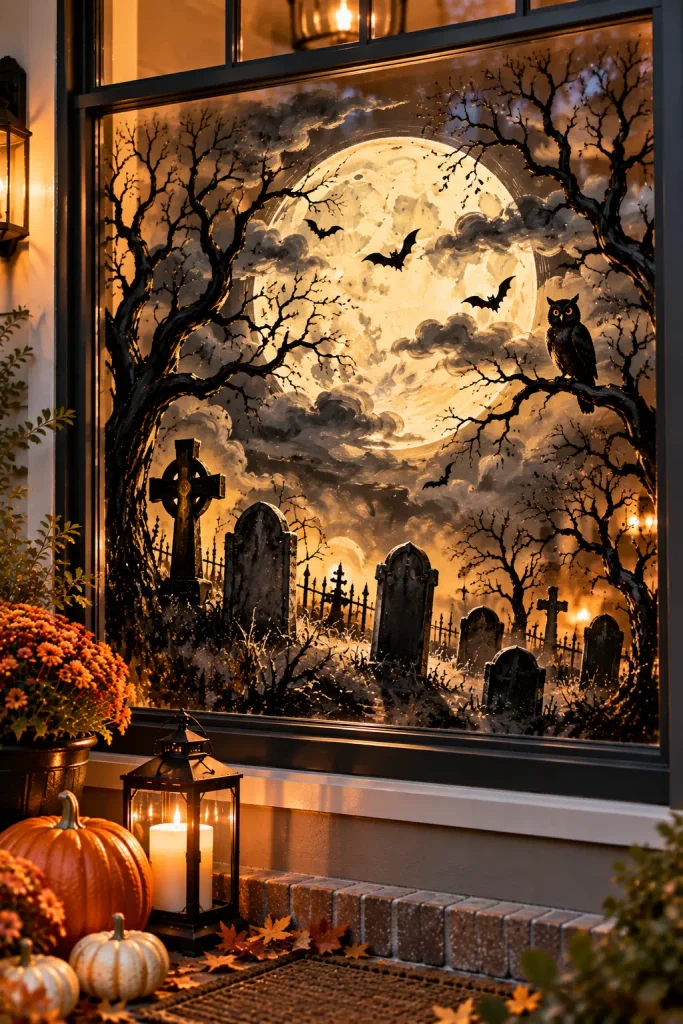
Take the classic graveyard theme a step further by making the moon the focal point.
Paint a huge pale moon behind several dark tombstones and crooked branches. Add a few wispy clouds crossing the moon to create movement.
You can also paint a small silhouette of an owl sitting on a branch.
The contrast between the bright moon and dark foreground makes this design look much more sophisticated than a collection of isolated Halloween symbols.
15. Halloween Candy and Treats
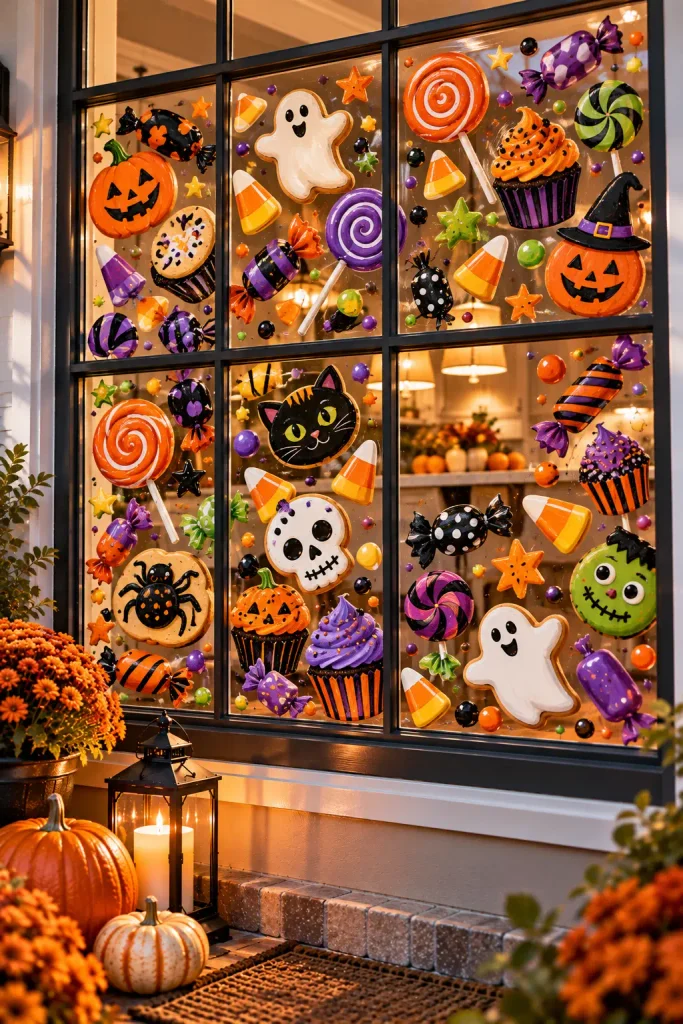
For a colorful and cheerful display, turn your window into a giant Halloween candy scene.
Paint candy corn, wrapped sweets, lollipops, cupcakes, cookies, and colorful candy pieces around the glass.
Add small pumpkins and stars between the treats to tie everything together.
This idea is perfect for kitchens, children’s bedrooms, playrooms, or homes where you want a more playful Halloween atmosphere.
16. Full Halloween Night Scene
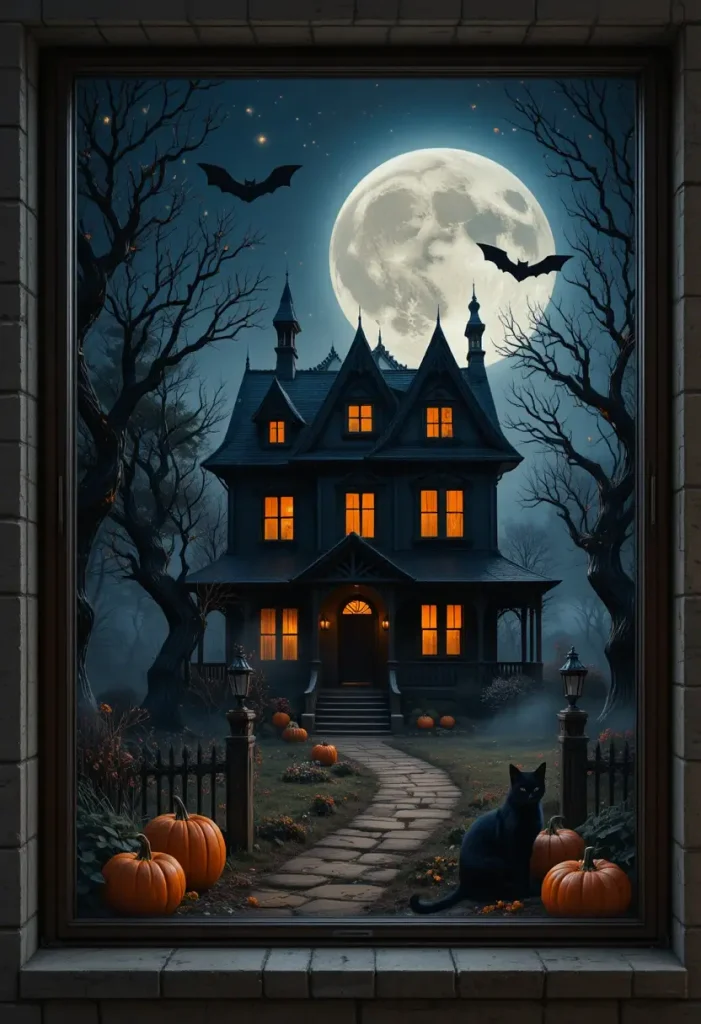
If you want your window to become the centerpiece of your Halloween decor, combine several favorite elements into one cohesive nighttime scene.
Imagine a large moon behind a haunted house, bats flying overhead, pumpkins sitting along the ground, crooked trees framing the sides, and a black cat watching from a fence.
The secret is to create layers rather than squeezing every Halloween symbol into the same area. Keep the sky relatively open, place the main scene in the center, and use smaller details around the edges.
This creates a professional-looking Halloween window mural that feels intentional rather than cluttered.
How to Make Your Halloween Window Painting Look Professional
You don’t need advanced painting skills to get impressive results. A few simple techniques can make a major difference.
Clean the Glass First
Wash the window thoroughly and allow it to dry before painting. Dust, grease, and fingerprints can make paint look uneven and prevent it from adhering properly.
Use the Right Paint
Choose washable window paint or another product specifically designed for temporary glass decoration. Avoid permanent paints unless you’re intentionally creating a long-term mural.
Sketch Before You Paint
Use a washable marker or a light outline to map out your composition first. This is particularly helpful for larger scenes.
Work From Large Shapes to Small Details
Paint the moon, house, pumpkins, or trees first. Once those major shapes are dry, add outlines, facial expressions, stars, bats, and other small details.
Think About Both Sides of the Window
If the artwork will be viewed primarily from outdoors, make sure the colors and shapes remain clear from that direction. If you’re decorating a storefront or highly visible front window, step outside periodically to check your progress.
Keep the Design Balanced
Avoid putting every detail in the center. Leave some breathing room around the artwork and use smaller elements to guide the viewer’s eye around the window.
What Paint Is Best for Halloween Window Painting?
Washable tempera or purpose-made window paint is usually a practical choice for temporary Halloween decorations. White, black, orange, purple, green, and yellow are particularly versatile because they can create everything from ghosts and pumpkins to haunted landscapes.
Before painting the entire window, test a small area to make sure the paint behaves well on your particular glass surface and can be removed as expected.
How Do You Remove Halloween Window Paint?
Allow the paint to dry according to the product instructions. When Halloween is over, gently loosen the painted areas using a damp cloth or suitable glass-cleaning method recommended for the paint you used.
Avoid aggressive scraping or abrasive products that could scratch the glass.
For easier cleanup next year, choose washable products specifically intended for temporary window decorations.
Final Thoughts
The best halloween window painting ideas don’t have to be complicated to make an impression. A simple flock of bats, smiling pumpkins, friendly ghosts, or a dramatic moonlit scene can completely transform an ordinary window into a Halloween focal point.
Choose a design that matches your home’s personality, keep the composition balanced, and don’t be afraid to mix spooky details with playful ones. With washable paint, a little planning, and some creativity, your windows can become one of the most memorable parts of your Halloween decorations.
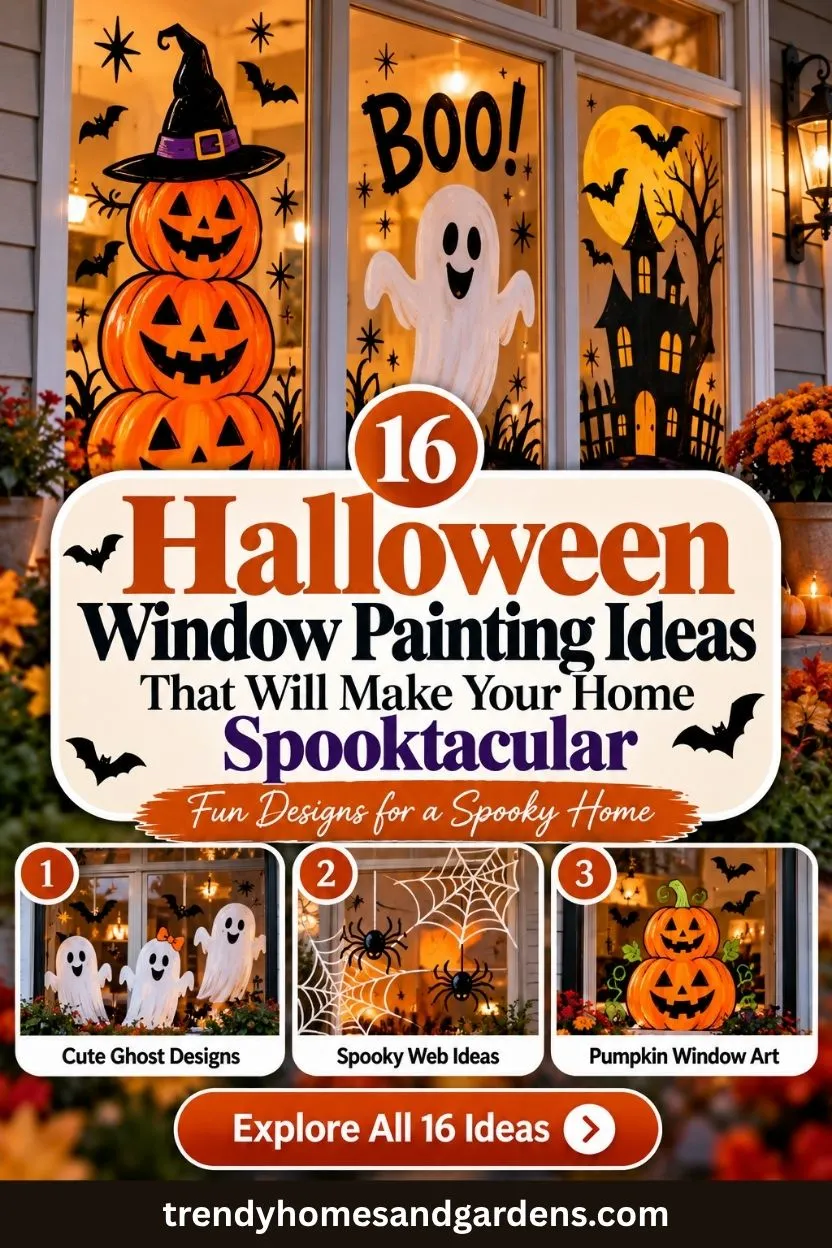
16 Halloween Window Painting Ideas That Will Make Your Home Spooktacular
Give your windows a spooky makeover with these 16 Halloween window painting ideas! From haunted houses and creepy bats to cute pumpkins and friendly ghosts, these creative designs are perfect for making your home stand out this Halloween.
Pin it on Pinterest